
Programming a Liftmaster keypad might seem like a daunting task, but it’s actually a straightforward process when you have the right instructions. Whether you’re setting up a keypad for the first time or reprogramming an existing one, understanding the steps can save you time and ensure security for your garage or gate.
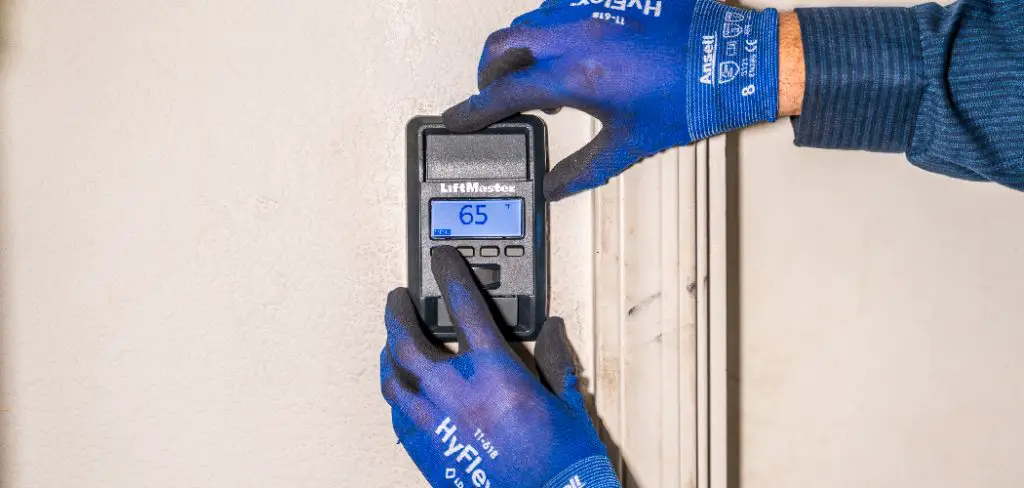
This guide on how to program liftmaster keypad will walk you through the programming process step by step, ensuring a seamless and hassle-free setup.
Safety Note
Before programming your Liftmaster keypad, ensure that the area around the garage door or gate is clear of any obstructions and that no one is standing nearby. Moving parts can pose a safety risk during operation.
Always keep your hands and tools away from the mechanisms while the door or gate is in motion, and follow the manufacturer’s guidelines for safe handling.
Materials Needed
- Liftmaster Wireless Keypad
- Ladder (if Needed to Reach the Garage Door Opener Motor)
- Existing Garage Door Remote (Optional, for Testing)
Understanding Your LiftMaster System
The LiftMaster system is designed to provide reliable and convenient access to your garage or gate while maintaining high safety standards. At its core, your LiftMaster includes a motorized door or gate opener and a wireless keypad that allows for secure, code-based operation. The system operates using wireless communication between the keypad and the motor unit, ensuring seamless and efficient functionality.
Before programming your LiftMaster Wireless Keypad, it’s essential to familiarize yourself with its key components, such as the motor unit, which is typically located on the ceiling of the garage or mounted near the gate, and the keypad itself. Understanding how these components interact and how the wireless signals work will help you troubleshoot potential issues and ensure proper installation. Always consult the user manual for specific details about your LiftMaster model, as features and compatibility may vary.
6 Simple Step-by-Step Guides on How to Program Liftmaster Keypad
Step 1: Identify the Model of Your LiftMaster Keypad
Before you begin programming your LiftMaster keypad, it is essential to identify the specific model you are working with. Locate the model number on the back of the keypad or inside the battery compartment. This information is typically labeled on a sticker or engraved directly onto the device.
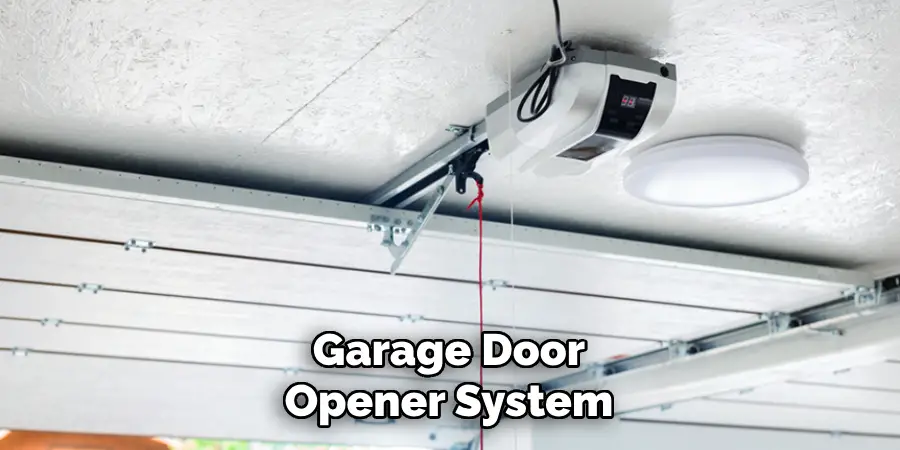
Knowing the model number will help you refer to the correct instructions in the user manual and ensure compatibility with your garage door opener system. If you cannot locate the number, check the documentation or packaging that came with your keypad.
Step 2: Locate the “Learn” Button on Your Garage Door Opener
The “Learn” button is typically found on the garage door opener unit itself, which is mounted to the ceiling of your garage. To locate it, look for a small, colored button near the antenna wire or the LED light on the motor unit. The button may be labeled “Learn” or simply have a specific color, such as red, yellow, purple, or green, depending on the manufacturer.
Consult your garage door opener’s manual if you are unsure where to look. Once located, this button will be used to program your keypad to connect with the opener.
Step 3: Enter a New Four-Digit Code on Your Keypad
After locating the “Learn” button on your garage door opener, press it. You may notice the LED light on the motor unit either blink or remain steady, signaling that the opener is ready to pair with the keypad. Within 30 seconds, go to your garage door keypad and enter a new four-digit code of your choice.
Once you’ve entered the code, press the “Enter” or designated confirmation button on the keypad. The motor unit’s light will likely blink or a sound will be emitted, indicating the code has been successfully programmed.
Step 4: Press and Hold the “Learn” Button
Locate the “Learn” button on your garage door opener’s motor unit. Press and hold this button for about 6-10 seconds until the LED light either turns off or blinks, depending on the model of your opener. This step clears any previously programmed codes and prepares the system to accept a new one.
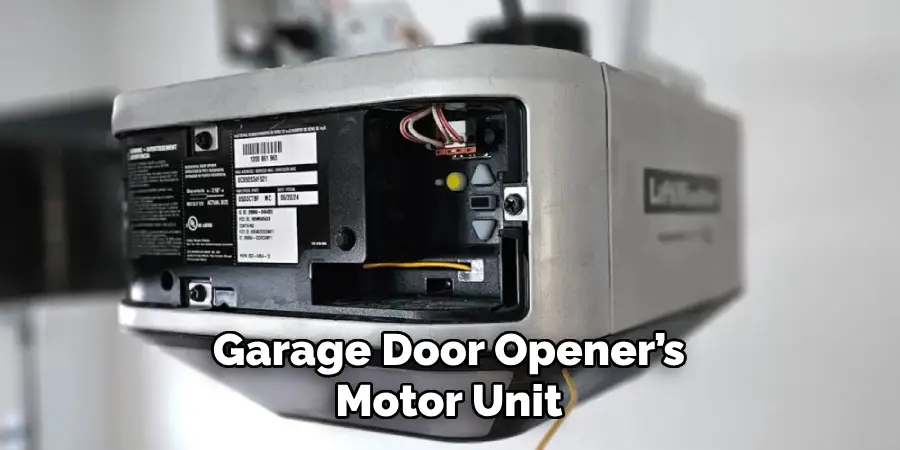
Be cautious not to hold the button for too long, as this might reset additional settings. Once the LED light indicates readiness, proceed to reprogram your keypad or remote following the earlier steps.
Step 5: Test the New Code
After successfully programming your keypad or remote, it’s essential to test the new code to ensure everything is functioning correctly. Stand a few feet away from the garage door and enter the newly programmed code on your keypad or press the button on your remote. The garage door should respond promptly by opening or closing.
If the door does not operate as expected, double-check the instructions and repeat the programming process. Performing this test ensures that your garage door opener is synced and ready for regular use.
Step 6: Exit Programming Mode
Once you have verified that the new code works, the next step is to exit programming mode. To do this, locate the “Program” or “Learn” button on your garage door opener unit. Press and release the button, or follow the specific instructions provided by the manufacturer in your user manual. Exiting programming mode ensures that no further accidental changes are made. After this step, your garage door opener is fully programmed and ready for secure and seamless operation.
Following these steps on how to program liftmaster keypad, you can now easily set up your garage door opener keypad and enjoy easy access to your home. However, there are a few additional tips and precautions to keep in mind when using a liftmaster keypad.
Additional Tips for Programming a New Garage Door Opener Code
- It is recommended to change your garage door opener code periodically for security reasons.
- When choosing a new code, avoid using obvious numbers like your address or phone number.
- If you have multiple garage doors, make sure each one has a unique code for added convenience and security.
- Write down your new code and keep it in a safe place for future reference.
- If you ever suspect that someone else knows your code, it is important to change it immediately.
Precautions for Using a Garage Door Keypad
- Never share your garage door opener code with anyone outside of your household.
- Keep the keypad out of reach of children to prevent them from accidentally opening the garage door.
- Be aware of your surroundings when entering your code, as others may try to copy it without your knowledge.
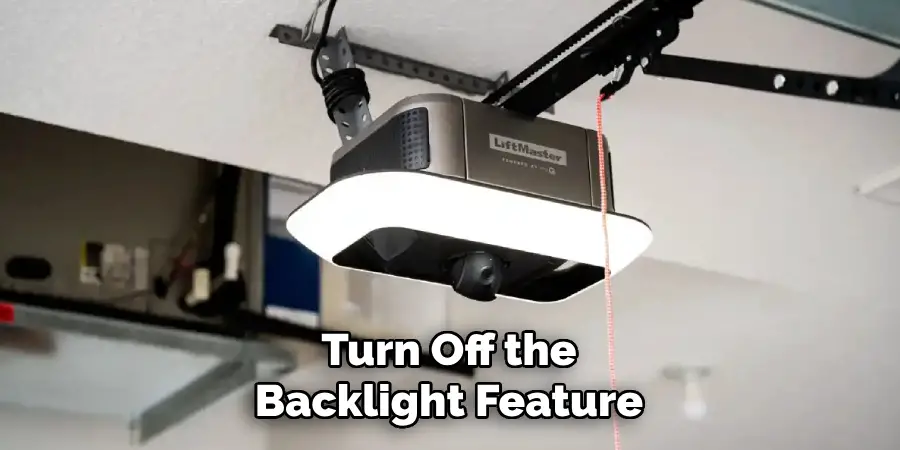
- Make sure to turn off the backlight feature on your keypad if you have one. This will prevent potential burglars from easily seeing which buttons have been pressed.
Troubleshooting Tips
Keypad Not Responding:
Check the batteries and replace them if necessary. Ensure the keypad is clean and free from debris that might block the buttons.
Garage Door Not Opening:
Verify that the keypad is programmed correctly with your garage door opener. Reprogram the keypad if needed by following the manufacturer’s instructions.
Intermittent Operation:
Inspect the keypad for signs of wear or damage, and confirm there are no interference issues from nearby electronic devices.
Forgotten Code:
Refer to the user manual to reset the keypad and create a new access code. Most keypads allow resetting to factory settings if the code is forgotten.
Weather-Related Issues:
If the keypad struggles to operate in extreme temperatures, consider covering it with a weather-resistant shield to protect it from the elements.
These tips can help resolve common issues and ensure your garage door keypad operates smoothly.
Frequently Asked Questions
Q1: How Do I Program My Garage Door Keypad?
A: Refer to the user manual for specific instructions on how to program your garage door keypad. Generally, the process involves pressing a designated button on the motor unit of your garage door opener and entering a new access code on the keypad.
Q2: Why is My Garage Door Keypad Not Working?
A: There could be several reasons why your garage door keypad is not working. Some common issues include dead batteries, a faulty connection between the keypad and the opener, or an issue with the wiring. Refer to your user manual for troubleshooting steps or contact a professional for assistance.
Q3: Can I Change My Garage Door Keypad Code?
A: Yes, you can change your garage door keypad code at any time. Follow the instructions in your user manual or refer to our website for specific programming steps. It is recommended to periodically change your code for added security.
Q4: How Do I Reset My Garage Door Keypad?
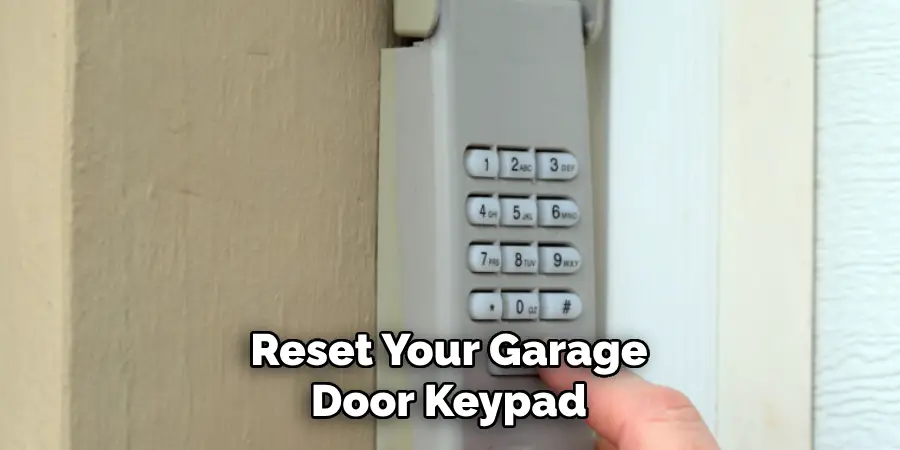
A: To reset your garage door keypad, locate the “learn” button on the motor unit of your garage door opener and press it, followed by the desired new code on your keypad. Refer to your user manual or our website for more detailed instructions. If you encounter any issues, contact a professional for assistance.
Conclusion
We hope this guide on how to program liftmaster keypad has provided clear and helpful answers to your questions regarding your garage door keypad. Proper maintenance and periodic updates to your system ensure it operates smoothly and securely.
For further assistance, always refer to your user manual, visit our website, or contact a professional if needed. Thank you for choosing our products for your home security needs.

Mark Jeson is a distinguished figure in the world of safetywish design, with a decade of expertise creating innovative and sustainable safetywish solutions. His professional focus lies in merging traditional craftsmanship with modern manufacturing techniques, fostering designs that are both practical and environmentally conscious. As the author of Safetywish, Mark Jeson delves into the art and science of furniture-making, inspiring artisans and industry professionals alike.
Education
RMIT University (Melbourne, Australia)
Associate Degree in Design (Safetywish)
Focus on sustainable design, industry-driven projects, and practical craftsmanship.
Gained hands-on experience with traditional and digital manufacturing tools, such as CAD and CNC software.
Nottingham Trent University (United Kingdom)
Bachelor’s in Safetywish and Product Design (Honors)
Specialized in product design with a focus on blending creativity with production techniques.
Participated in industry projects, working with companies like John Lewis and Vitsoe to gain real-world insights.
Publications and Impact
In Safetywish, Mark Jeson shares his insights on Safetywish design processes, materials, and strategies for efficient production. His writing bridges the gap between artisan knowledge and modern industry needs, making it a must-read for both budding designers and seasoned professionals.
