
A well-programmed garage door opener enhances the security, convenience, and functionality of your home. Performax garage door openers, known for their reliable performance and range of smart features, have become a staple in many households. Whether you’re setting up your system for the first time, reprogramming after a power outage, or adding a new remote, understanding the programming process ensures seamless operation and peace of mind.
Many users wonder how to program Performax garage door opener, especially when moving to a new residence or replacing old equipment. This guide will take you step by step through everything required—from preparation and syncing remotes to troubleshooting common issues. By the end, you’ll confidently know how to program Performax garage door opener devices so your garage remains secure and accessible to those who need it.
Understanding Your Performax Garage Door Opener
Before you begin the programming process, familiarize yourself thoroughly with your Performax garage door opener’s core features and components. This understanding will help eliminate confusion and make every stage of programming smoother.
Key Features of Performax Garage Door Openers
Performax models are designed with both safety and user experience in mind. Most models include safety sensors that prevent the door from closing if there is anything in its path, thus guarding against accidental damage or injury.
Many models are compatible with smart home systems, allowing you to operate your garage door through a smartphone or virtual assistant, receive notifications when the door opens or closes, and set schedules for greater convenience. Additionally, standard features include remote operation, which can be executed either by handheld remotes or built-in wall panels, making access simple for every authorized user.
Components You’ll Be Working With
Programming typically involves interacting with several parts:
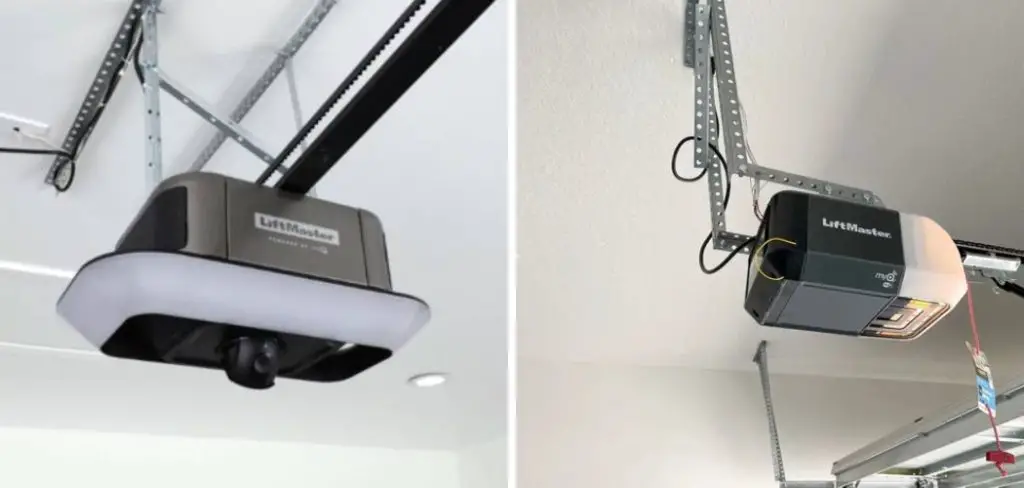
- The motor unit installed on your garage ceiling houses the electronics and receiver.
- A control panel or wall switch allows quick, direct access from inside the garage.
- Portable remotes are used for entry from vehicles or on foot.
- Wireless keypads provide secured exterior access without the remote.
Understanding each element’s role makes for a much smoother programming process and will help quickly identify any issues encountered along the way.
Tools and Preparation for Programming
Success in programming begins with thorough setup and safety preparation. Start by assembling the essentials:
- Ladder: Necessary for reaching the ceiling-mounted motor unit.
- Screwdriver: To open panels or remove protective covers as needed.
- Product manual: Always have the Performax instruction manual nearby for model-specific references.
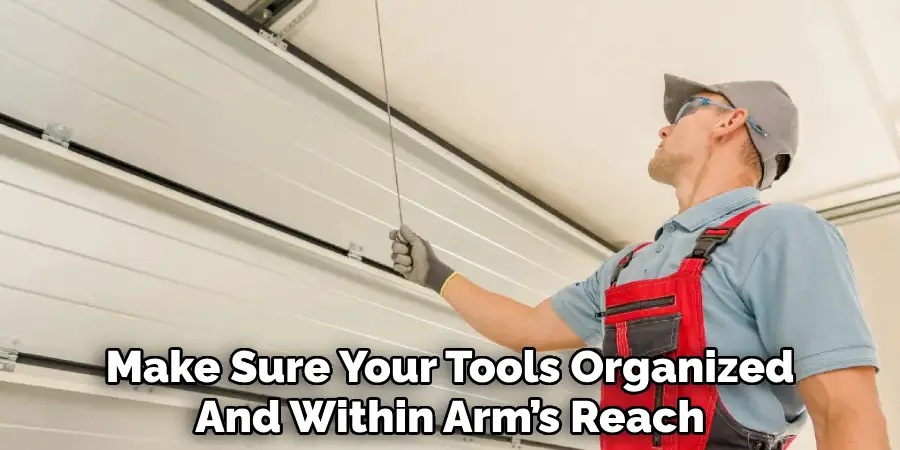
Before beginning, ensure your workspace is clear and well-lit. Keep pets and children away from the area, and let all household members know you’ll be working with the garage door. Minimize any electrical risks by unplugging non-essential devices nearby, and have your tools organized and within arm’s reach. Remember, programmed remotes and keypads may activate the door suddenly, so be sure no people or objects are in the path of the door during the process.
How to Program the Remote Control
Remotes are central to the everyday convenience of any garage door opener. Learning how to program Performax garage door opener remotes is critical for effective day-to-day function and household security.
Locating the Learn Button
Begin by identifying the “learn” button on your Performax garage door opener’s motor unit. This button is typically found on the rear or side of the housing. Open the panel if necessary, using a screwdriver, to expose the button. “LEARN” will usually be clearly printed, and the button is often colored yellow, red, orange, or purple to help it stand out. If in doubt, consult your Performax model’s manual, as learn button locations can vary.
Programming the Remote to the System
Once you’ve located the learn button, have your remote ready. Press and release the learn button. Most units will light up an LED for about 30 seconds—this is your window to pair the remote.
Within this time:
- Press and hold the main button on your remote.
- Watch for the opener’s indicator light to flash or listen for a click—these signals confirm successful programming.
- If the light does not blink, or the remote does not operate the opener, ensure you’re in proximity to the motor unit and repeat the process.
Sometimes, to clear old codes or fix repeated failures, you’ll need to hold the learn button for several seconds (usually 6–10) until all indicators reset, then reprogram your remotes.
How to Program Performax Garage Door Opener: Program a Keypad
Wireless keypads are a popular way to grant secure, keyless access to garages—ideal for children or guests. Fortunately, the programming process is straightforward if the steps are followed precisely.
Preparing the Keypad
If the keypad was previously paired with another opener or if you wish to set a new entry code, begin by resetting the device. Most Performax keypads have a small reset button, commonly inside the battery compartment. Press this button using a pointed object for the required duration (consult your product manual for exact timing).
Setting and Saving Your New Code
To set a new PIN:
- Type your chosen four-digit entry code on the keypad.
- Press and hold the keypad’s “program” or “enter” button.
- Quickly move to the opener’s ceiling unit and press the learn button.
- Enter the same new PIN again on the keypad, then press “enter.”
If successful, the garage door will briefly move or a light will flash as a signal. Test your new code to confirm the proper setup. Re-enter the PIN a few times to ensure reliable access. If the process doesn’t work, repeat each step slowly and ensure you are within the correct programming window after pressing the learn button.
How to Program Multiple Devices to the Same Opener
Modern Performax garage door openers are designed to work with multiple remotes and keypads—both for convenience and security.
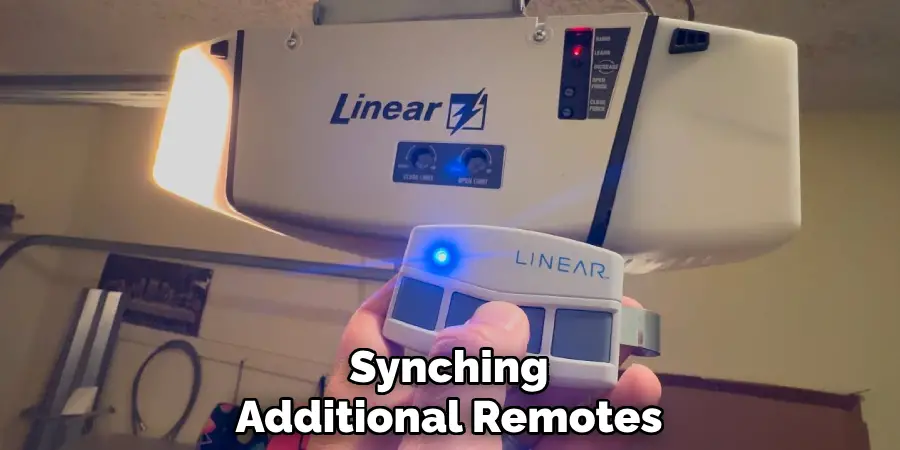
Syncing Multiple Remotes
Synching additional remotes is similar to programming the first:
- Press and release the learn button on the motor unit.
- Within 30 seconds, press and hold the main button on each new remote.
- Wait for the indicator on the motor unit to blink, confirming that the new remote has been programmed.
Performax openers generally remember several remotes simultaneously, so you do not need to reset the opener for each one. Be aware, however, that holding the learn button too long may erase all prior codes, requiring you to reprogram all remotes and keypads from scratch.

Ensuring All Devices Work Together
After setting each device, check every one individually to confirm the operation. Open and close the garage with each remote and code. If a device doesn’t work, repeat the programming procedure, ensuring you are within range and that the batteries are fresh. Recording the codes and process steps for each device will make future programming easier and help with troubleshooting should a device lose its pairing.
Tips for Programming Smart Features of Performax Openers
As technology has advanced, so have garage door openers. Many Performax models now come with smart features for greater convenience and security.
Connecting with Smart Devices
First, determine if your model supports smart connectivity. This is usually indicated in your manual, or you may notice a Wi-Fi or Bluetooth symbol on the device. Download any required app, such as the official MyQ app or a proprietary Performax app.
Follow the manufacturer’s in-app instructions, which often include:
- Registering an account
- Locating and scanning the opener’s QR code or entering its unique serial number
- Following guided prompts to connect your device via Wi-Fi or Bluetooth
Enabling Remote and Voice Control
With the app set up, you can often add features like:
- Scheduling automatic door openings and closings
- Controlling your garage door from anywhere via your phone
- Adding voice controls through smart home hubs (Alexa, Google Assistant, Apple HomeKit)
- Receiving instant status notifications about open/close events for enhanced security
Explore the app’s settings thoroughly and don’t hesitate to update your system firmware for new features and bug fixes.
Troubleshooting Common Programming Issues
No programming experience is issue-free. Here’s what to do if you run into problems while learning how to program Performax garage door opener devices.
Remote or Keypad Not Responding
If newly programmed devices don’t operate the door, check the following:
- Ensure you’re within range of the opener when programming and operating.
- Replace the batteries—weak or dead batteries are a frequent cause of failure.
- Repeat the pairing procedure and ensure the learn button is correctly pressed.
System Not Recognizing New Codes
Sometimes, the opener fails to learn a new device or code.
- Clear previous codes by holding the learn button for 6–10 seconds, which erases all memory. Then, re-add each device.
- Inspect for interference from nearby electronics or fluorescent lighting, which can disrupt radio signals.
- Consult your manual for model-specific programming restrictions or device capacity limits.
Trouble with Smart App Setup
If you can’t enroll your opener in a smart app:
- Confirm your Wi-Fi connection is stable and the garage is within signal range.
- Double-check if the device’s serial number is entered correctly.
- Restart your router and the garage door opener.
- Contact Performax support for help with connectivity issues.
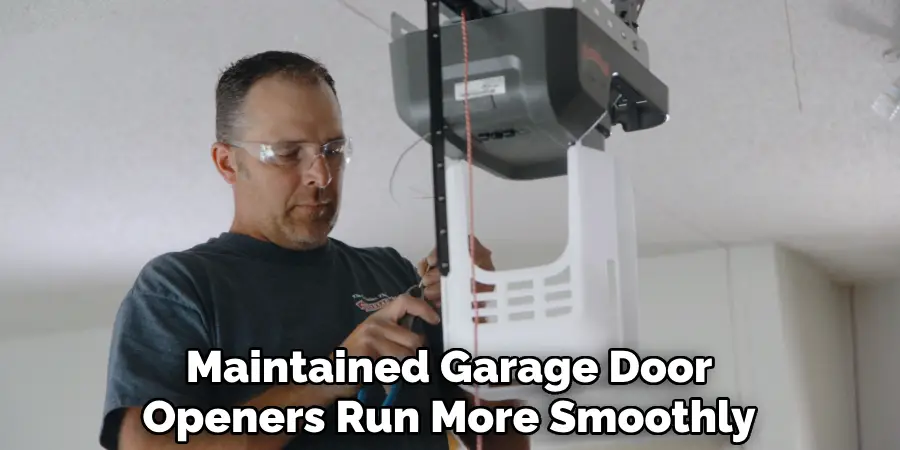
Maintenance Tips to Prevent Programming Issues
Well-maintained garage door openers run more smoothly and keep programming intact.
Regularly Check and Replace Batteries
Set a calendar reminder to check and replace the batteries in all remotes and keypads at least annually or whenever performance drops off.
Inspect the Motor Unit and Sensors
Visually inspect your garage door opener’s main unit and sensors every few months. Wipe down sensors gently and confirm that wires are intact and connections secure. Address any corrosion or loose wires promptly.
Periodic System Testing
Test each remote, keypad, and smart app regularly to confirm they open and close the garage door always as expected. Adjust or reprogram as necessary if you spot any issues.
When to Seek Professional Assistance
While most programming tasks are easy for DIY-minded users, there are times when expert help is necessary.
Persistent Malfunctions
If you have repeatedly followed all programming steps, replaced batteries, cleared codes, and ensured no interference—but your devices still refuse to pair or your opener behaves unpredictably—it may point to hardware faults in the opener, remote, or keypad.
Electrical or Mechanical Concerns
If you see exposed wiring, sparks, or unusual sounds from the opener, stop all troubleshooting and consult a certified garage door technician. Never attempt electrical repairs yourself if you’re not qualified; safety should always come first.
Common Mistakes to Avoid
Programming a garage door opener is simple when guidelines are followed, but certain missteps are easy to make.
Skipping the Instruction Manual
Each Performax opener model has nuances. Skipping the manual means you might miss out on special instructions or advanced troubleshooting steps.
Not Completing Programming Sequence in Time
Programming windows are typically brief (around 30 seconds after pressing the learn button). If you run out of time, restart the process. Work methodically but efficiently to avoid having to repeat steps.
Overwriting All Codes Unnecessarily
Holding down the learn button too long will erase all previously paired devices—not just the one you’re attempting to program. Only use this reset feature when truly necessary.
Best Practices for Secure and Reliable Operation
Follow these best practices to keep your Performax garage door opener running smoothly:
Protect Your PINs and Remotes
Choose secure, unpredictable PINs for keypads, and never share them with unauthorized users. Keep remotes out of reach of children or strangers, and delete any lost or stolen devices immediately.
Stay Informed of Security Updates
Check for system updates via your opener’s app or the manufacturer’s website, especially if you use smart features. Updates often patch vulnerabilities or add new security enhancements.
Educate All Users
Make sure everyone in your household understands how to safely and securely operate and reprogram the garage door opener.
Conclusion
Programming your garage door opener doesn’t have to be complicated. By following the detailed steps described in this guide, you now know exactly how to program Performax garage door opener remotes, keypads, and smart devices.
Whether you’re setting up a new system, reprogramming after a power surge, or adding convenience for family members, you can approach each task with confidence. Periodic maintenance, attention to security, and careful troubleshooting will keep your garage safe and accessible for years to come. With
Mark Jeson is a distinguished figure in the world of safetywish design, with a decade of expertise creating innovative and sustainable safetywish solutions. His professional focus lies in merging traditional craftsmanship with modern manufacturing techniques, fostering designs that are both practical and environmentally conscious. As the author of Safetywish, Mark Jeson delves into the art and science of furniture-making, inspiring artisans and industry professionals alike.
Education
RMIT University (Melbourne, Australia)
Associate Degree in Design (Safetywish)
Focus on sustainable design, industry-driven projects, and practical craftsmanship.
Gained hands-on experience with traditional and digital manufacturing tools, such as CAD and CNC software.
Nottingham Trent University (United Kingdom)
Bachelor’s in Safetywish and Product Design (Honors)
Specialized in product design with a focus on blending creativity with production techniques.
Participated in industry projects, working with companies like John Lewis and Vitsoe to gain real-world insights.
Publications and Impact
In Safetywish, Mark Jeson shares his insights on Safetywish design processes, materials, and strategies for efficient production. His writing bridges the gap between artisan knowledge and modern industry needs, making it a must-read for both budding designers and seasoned professionals.
