
Learning how to remove metal door frame can seem like a daunting task, but with the right guidance, it’s a manageable project for beginners. Whether you’re renovating your home, replacing an old metal frame, or simply upgrading to a new style, the process involves careful execution to avoid damaging surrounding walls or other structures. This step-by-step guide breaks it down into easy-to-follow instructions, ensuring you can tackle the task with confidence.
By following this comprehensive tutorial, you won’t just gain practical know-how—you’ll save money on professional help and have the satisfaction of completing your own DIY home improvement project. The steps involve basic tools and minimal prior experience, making this an approachable task for homeowners eager to make changes themselves.
Now, let’s explore why understanding this topic is so crucial.
Why Should You Learn to Remove a Metal Door Frame?
Metal door frames are commonly used in older buildings and, while durable, they can become outdated in both aesthetics and functionality. Knowing how to remove a metal door frame is an essential skill for anyone interested in home improvement. It allows you to modernize the appearance of your home, replace damaged or corroded frames, or even retrofit with more energy-efficient frames.
Replacing outdated frames can also improve property value and cater to personal preferences for style and design. Additionally, metal frames are often integrated more firmly into walls compared to wooden frames, making professional help seem inevitable. However, armed with the right guidance, you can handle the removal yourself. Not only does this save on labor costs, but it also empowers you to take charge of similar DIY projects in the future.
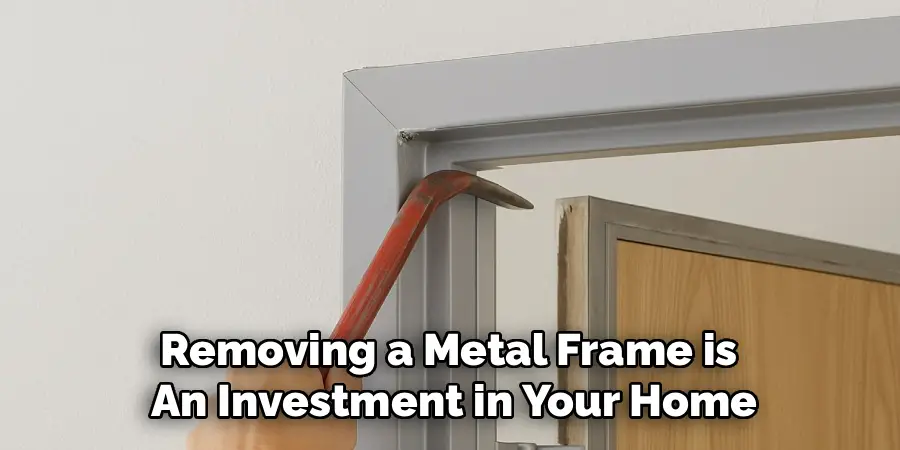
Removing a metal frame is an investment in your home and your personal skill set—so it’s well worth learning.
Alternatives to Metal Door Frames
When considering alternatives to metal door frames, wooden frames stand out as a classic and versatile option. They offer a warm, natural aesthetic that complements a variety of interior styles, from traditional to modern. For a sleek and contemporary look, aluminum frames provide durability and a lightweight construction while being resistant to rust and corrosion.
If you’re looking for something innovative and eco-friendly, composite frames made of recycled materials can be an excellent choice, combining strength with sustainability. Each option has its own unique benefits, so selecting the right one depends on your specific design goals, budget, and functional needs.
How to Remove Metal Door Frame – A Step-by-Step Guide
Removing a metal door frame involves proper preparation and careful handling to avoid damaging adjacent walls or doors. Below, you’ll find a detailed guide broken into manageable steps so you can work confidently and complete the task successfully.
Step 1: Gather Your Tools and Materials
Before beginning the process, gather all the necessary tools and materials to streamline your project. This can include a pry bar, hammer, electric drill with a metal cutting attachment, screwdrivers, safety gloves, and goggles. Having everything on hand avoids the frustration of mid-task interruptions. This preparation ensures you can focus fully on removing the frame once you start.
Step 2: Check for Fasteners Securing the Frame
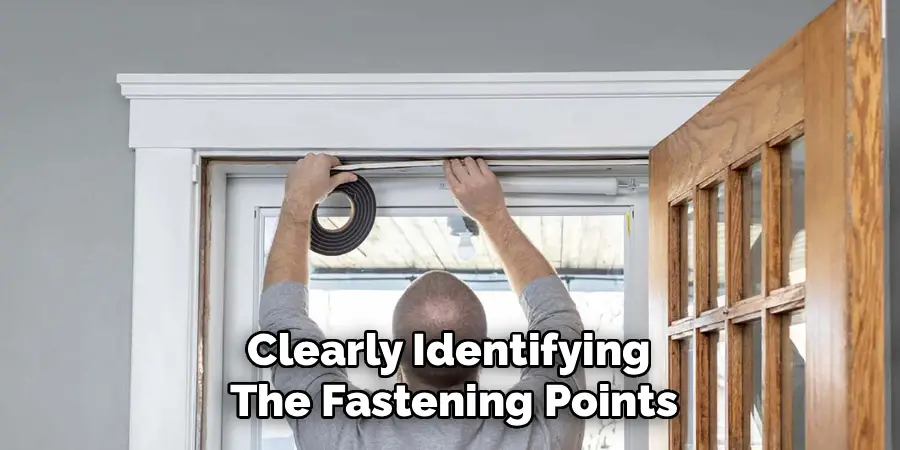
Metal door frames are typically secured using anchors, bolts, or screws in the wall. Begin by examining the edges of the frame to locate these fasteners. Look for screws in the corners of the frame or beneath the trim. Clearly identifying the fastening points prevents unnecessary damage and makes it easier to proceed systematically.
Step 3: Remove the Door and Trim
Before tackling the frame itself, take the time to remove the door from its hinges. This can usually be done by unscrewing or tapping out the hinge pins and carefully lifting the door off the hinges. With the door out of the way, you’ll also want to detach any surrounding trim or molding. Gently pry the trim away using a flathead screwdriver or pry bar to expose the full frame.
Step 4: Cut Through Paint or Caulk
Older frames are often sealed with paint or caulk, which needs to be cut away to ensure smooth removal. Using a utility knife, carefully cut around the edges of the frame where it meets the wall. This step prevents the surrounding wall or materials from being damaged when pulling the frame. Do it patiently to ensure a clean separation.
Step 5: Loosen Screws or Bolts
Using a screwdriver or power drill, begin loosening the screws or bolts that hold the frame in place. If some fasteners are particularly stubborn due to rust, apply a penetrating oil and allow it to sit for a few minutes. Once the fasteners are loose, ensure they are completely removed so the frame is no longer anchored to the wall.
Step 6: Cut Through Welded or Fixed Sections
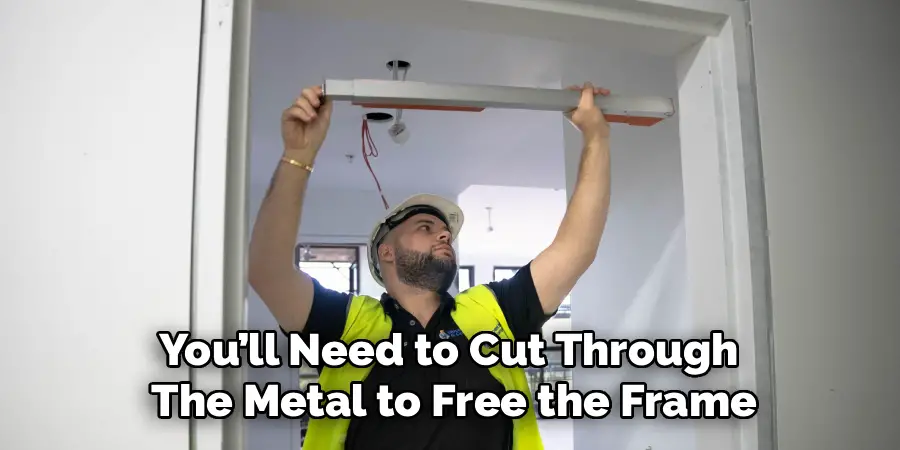
For metal frames that are welded into place, you’ll need to cut through the metal to free the frame. Equip your electric drill or cutting tool with a metal cutting blade. Carefully cut along any welded or fixed points, taking care not to damage nearby wall sections. Always wear safety goggles to protect against flying sparks or debris during this step.
Step 7: Pry Out the Metal Frame
Once the fasteners have been removed and any welds are cut, use a pry bar to gently start removing the metal frame. Begin at one corner, levering the frame away from the wall. Work slowly to avoid damaging surrounding drywall or plaster. Continue around the frame until it is completely detached.
Step 8: Remove Debris and Inspect the Opening
After the metal frame is out, clean up the debris and inspect the wall opening. Look for any leftover caulk, screws, or damage to repair before installing a replacement frame or leaving the area exposed. This inspection ensures your space is seamlessly ready for the next step in your project.
Step 9: Prepare for Replacement or Finalize Edges
If you plan to install a new frame, ensure that all edges are smooth and the space is properly measured. Should you decide not to replace the frame immediately, patch any holes or damage and prepare the area for painting or finishing.
Step 10: Double-Check Work and Store Tools
Finally, double-check that all parts of the old frame are removed and that the area is clean. Store your tools neatly, and take pride in completing such a hands-on project!

Safety Precautions
When working on removing or replacing a frame, it is essential to prioritize safety. Always wear protective gloves to avoid cuts from sharp edges or splinters, and use safety glasses to shield your eyes from debris. If you’re using power tools, make sure they are in good working condition and handle them carefully to prevent accidents.
Keep the workspace well-lit and free of clutter to reduce tripping hazards. Additionally, ensure you have a sturdy ladder or step stool if you need to reach higher areas, and never overextend yourself. By following these safety measures, you can protect yourself and complete the project efficiently.
Frequently Asked Questions Section
How can I tell if my metal door frame is welded or screwed in?
To determine how your metal door frame is secured, inspect the edges of the frame for visible screws or bolts. If none are present, check for weld marks—these often appear as smooth, fused sections of metal around the perimeter of the frame. Welded frames require cutting tools for removal, while screwed frames can typically be dismantled with basic hand tools.
What safety precautions should I take when removing a metal door frame?
Always wear safety goggles and gloves when working on metal frames to protect your hands and eyes from sharp edges or flying debris. If using a cutting tool, ensure the area is well-ventilated to avoid inhaling fumes or dust. Keeping your workspace clear of clutter and having a fire extinguisher nearby while cutting metal are also useful safety measures.
Can I reuse a removed metal door frame?
Yes, you can reuse a metal door frame if it is in good condition. Remove it carefully to minimize damage, and inspect it for any bends, rust, or wear before reinstalling. If the frame is welded or heavily damaged during removal, reuse may not be practical.
How long does it typically take to remove a metal door frame?
Removing a metal door frame can take anywhere from 2–4 hours, depending on factors such as the type of frame (screwed versus welded), the tools available, and your level of experience. Rushing can lead to mistakes, so allocate plenty of time to complete the job thoroughly.
What tools are essential for removing a metal door frame?
Key tools for removing a metal door frame include a pry bar, utility knife, screwdriver or electric drill, safety goggles, gloves, and a metal cutting blade (if the frame is welded). Having these tools at hand ensures the process is smooth and efficient.
Conclusion
Removing a metal door frame may seem like a challenging task, but with this detailed guide, you now have the knowledge to handle it confidently. From preparing the tools to prying out the frame and cleaning up afterward, each step walks you through the process with clarity. Whether upgrading your home’s design or replacing a worn frame, taking on this DIY project can be both cost-effective and rewarding.
Remember to always prioritize safety when undertaking any DIY project. Wear protective gear such as gloves, safety goggles, and sturdy shoes to prevent injuries during the process. If you encounter challenges or feel unsure at any step, don’t hesitate to seek advice from a professional or consult additional resources. With patience and the right approach, completing your project can leave you with a sense of accomplishment and a refreshed space to enjoy.
Now that you know how to remove a metal door frame, why not give it a try? With just a bit of patience and effort, you’ll achieve a result that transforms your space and boosts your confidence in DIY projects!

Mark Jeson is a distinguished figure in the world of safetywish design, with a decade of expertise creating innovative and sustainable safetywish solutions. His professional focus lies in merging traditional craftsmanship with modern manufacturing techniques, fostering designs that are both practical and environmentally conscious. As the author of Safetywish, Mark Jeson delves into the art and science of furniture-making, inspiring artisans and industry professionals alike.
Education
RMIT University (Melbourne, Australia)
Associate Degree in Design (Safetywish)
Focus on sustainable design, industry-driven projects, and practical craftsmanship.
Gained hands-on experience with traditional and digital manufacturing tools, such as CAD and CNC software.
Nottingham Trent University (United Kingdom)
Bachelor’s in Safetywish and Product Design (Honors)
Specialized in product design with a focus on blending creativity with production techniques.
Participated in industry projects, working with companies like John Lewis and Vitsoe to gain real-world insights.
Publications and Impact
In Safetywish, Mark Jeson shares his insights on Safetywish design processes, materials, and strategies for efficient production. His writing bridges the gap between artisan knowledge and modern industry needs, making it a must-read for both budding designers and seasoned professionals.
