
Replacing a seat belt may seem like a daunting task, but with the right tools and guidance, it can be done efficiently and safely. Over time, seat belts can experience wear and tear, reducing their effectiveness in protecting you during an accident. Whether it’s due to fraying, a malfunctioning retractor, or other damage, knowing how to replace a seat belt ensures your vehicle remains safe and compliant with safety regulations.
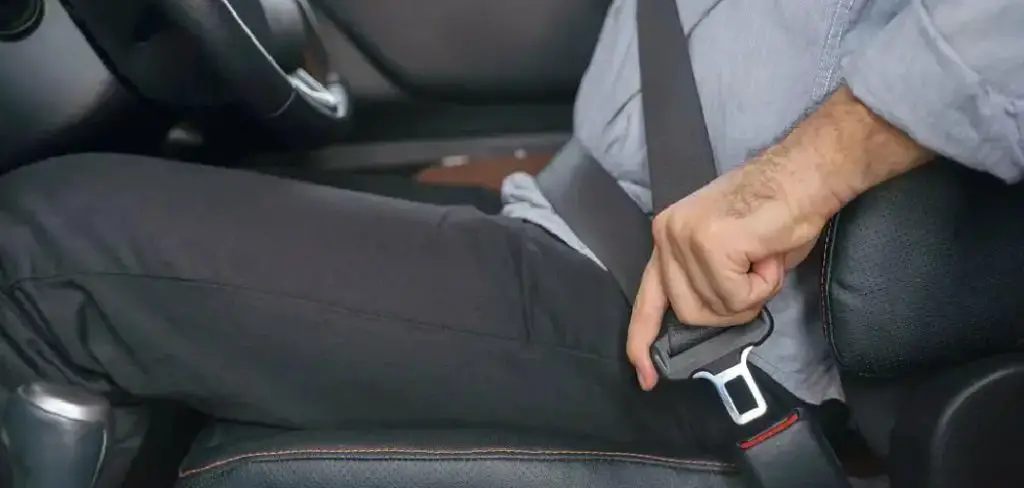
This guide will walk you through the steps to properly replace a seat belt, helping you restore this critical safety feature of your car.
Why Replace a Seat Belt?
Before we dive into the steps to replace a seat belt, it’s important to understand why it’s necessary. As mentioned earlier, seat belts can experience wear and tear over time, which can compromise their ability to protect you in a car accident.
Additionally, if your vehicle has been involved in an accident or has experienced any damage to the seat belt system, it is essential to replace the seat belt for optimal safety. This includes any visible damage such as cuts or tears on the belt itself, as well as internal damage that may not be immediately visible.
When to Replace a Seat Belt?
There are several situations where replacing a seat belt becomes imperative to ensure safety. First and foremost, if a seat belt has been stretched or impacted during a collision, it should be replaced, even if no visible damage is present. Stretching can weaken the material and reduce its effectiveness in a future accident.
Additionally, check for visible signs of wear, such as fraying, cuts, or unraveling, as these indicate compromised integrity. Seat belts that fail to retract properly or lock during sudden movements also require replacement, as this can signal issues with the retractor mechanism. Routine inspection and timely replacement of faulty seat belts are key steps in ensuring the safety of all passengers in your vehicle.
Safety Considerations Before Starting
Before beginning any vehicle maintenance or inspection, ensure the car is parked on a flat, stable surface and the engine is turned off. Engage the parking brake to prevent any unintended movement of the vehicle. Wear protective gloves to safeguard your hands from sharp edges or contaminants, and ensure the area is well-lit to allow for thorough inspection. If working with electrical components, disconnect the car battery to avoid accidental short circuits or shocks.
Always have a first aid kit on hand in case of minor injuries, and make sure you are familiar with the safety features and mechanisms of your vehicle prior to proceeding. Taking proper safety precautions can help prevent accidents and ensure a smoother process.
Tools and Materials Needed
- Replacement Seat Belt Assembly (Correct for Vehicle Make and Model)
- Screwdrivers (Phillips and Flathead)
- Socket Wrench Set
- Trim Removal Tools (Optional but Helpful)
- Torque Wrench (for Proper Bolt Tightening)
- Safety Gloves
7 Step-by-Step Guidelines on How to Replace a Seat Belt
Step 1: Locate the Seat Belt Assembly to be Replaced
Begin by identifying the specific seat belt assembly that needs replacement. This may include the shoulder belt, lap belt, or both, depending on the seat belt system in your vehicle. Adjust the seat to a position that allows you easy access.
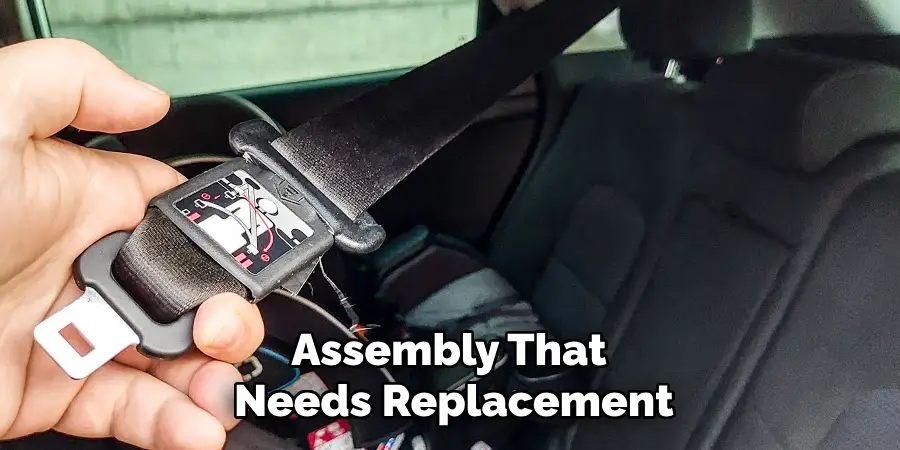
Examine the assembly’s components, such as the retractor mechanism (usually located in the side panel or floor), the buckle, and the anchor points. Make note of their locations to ensure a smooth replacement process.
Step 2: Identify and Disconnect the Electrical Connections
Some seat belt assemblies, particularly those equipped with pretensioners or airbags, have electrical components that must be disconnected before removal. Locate the electrical connections near the seat belt retractor or anchor points.
These are typically secured with a plug or connector. Carefully unplug these connections, taking note of their orientation and placement to simplify reinstallation. Ensure the vehicle’s battery is disconnected before handling any electrical components to prevent accidental activation or damage.
Step 3: Remove Any Bolts Holding the Assembly in Place
With the electrical components safely disconnected, locate the bolts securing the seat belt assembly to the vehicle. These bolts are typically found near the retractor, anchor points, or buckle base. Using the appropriate tools, such as a socket wrench, carefully unscrew the bolts, ensuring you keep them in a safe place for reinstallation later.
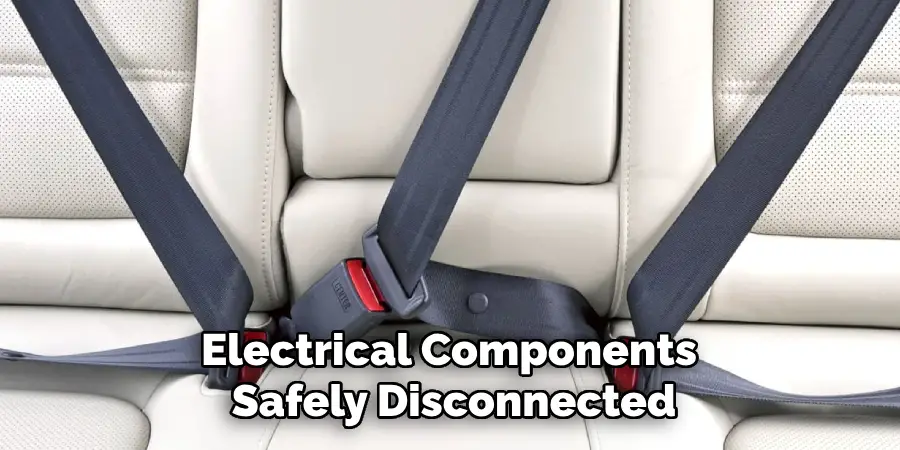
If any bolts are particularly tight or rusted, apply a penetrating lubricant to ease their removal. Take care to avoid damaging the surrounding trim or components during this step.
Step 4: Remove the Old Seat Belt Assembly
With the bolts fully removed, gently extract the old seat belt assembly from its mounting points. Start by detaching the retractor mechanism, followed by the anchor points and buckle, if applicable. Be mindful of any clips, connectors, or hidden fasteners that might still be holding the assembly in place.
Inspect the removed parts for wear or damage that could be useful for diagnosing any issues with the old seat belt. Ensure all components are safely set aside or disposed of according to local regulations if they are no longer needed.
Step 5: Install the New Seat Belt Assembly
Begin by positioning the new seat belt retractor mechanism in the designated mounting point. Secure it tightly using the appropriate bolts, ensuring they are fastened to the manufacturer’s specified torque settings. Next, attach the new anchor points and buckle components.
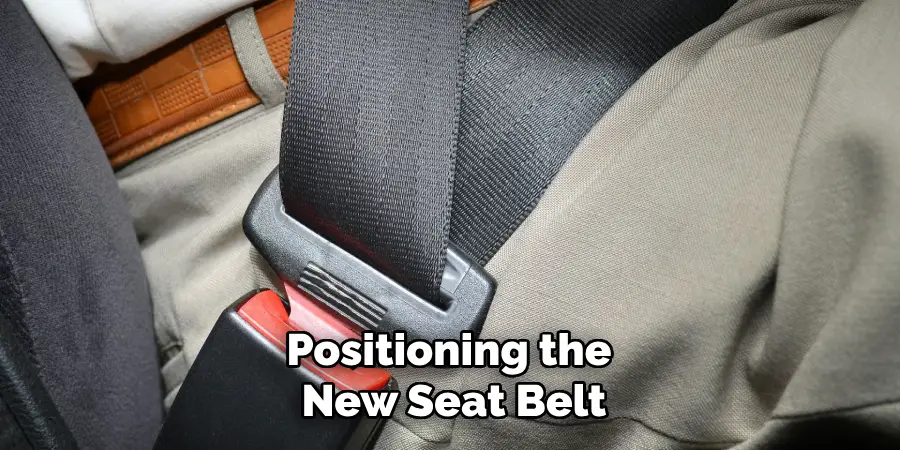
Make sure all connections are properly aligned and securely tightened to avoid any movement during use. If applicable, reconnect any clips or connectors that were detached during the removal process. Finally, double-check that the seat belt moves smoothly and locks correctly when tested. Make any necessary adjustments to ensure optimal safety and functionality.
Step 6: Test the New Seat Belt Assembly
Once the installation is complete, thoroughly test the seat belt assembly to ensure it operates correctly. Pull the seat belt out fully and inspect it for any resistance or irregularities. Allow it to retract, checking that it moves smoothly and locks securely when pulled sharply, simulating a sudden stop.
Repeat this process several times to confirm consistent functionality. If the seat belt features adjustable components, verify they adjust as intended without any issues. Address any problems immediately to ensure the seat belt meets safety standards before use.
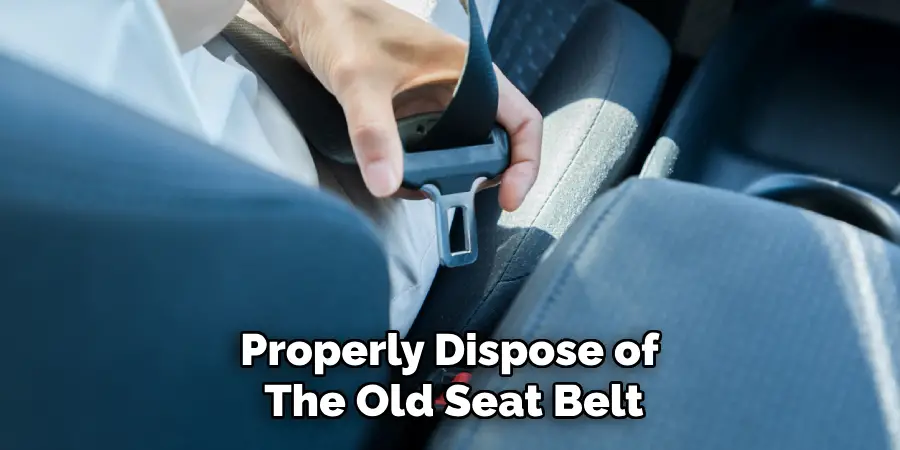
Step 7: Dispose of the Old Seat Belt Assembly
Properly dispose of the old seat belt assembly by taking it to a designated recycling or disposal center. Do not throw it away in regular trash as it can still be useful for spare parts or recycled materials.
Following these steps on how to replace a seat belt assembly will ensure a safe and effective replacement process. Remember to always prioritize safety and consult a professional if needed. Regular maintenance and inspections of seat belts are important for ensuring the overall safety of your vehicle. Keep yourself and others safe by following proper seat belt usage guidelines and replacing any damaged or malfunctioning parts. Stay safe on the road!
Additional Tips
- Always consult your vehicle’s manual for specific instructions on how to replace a seat belt assembly.
- Make sure to wear protective gear, such as gloves and eye protection, when working with tools.
- If you encounter any difficulties during the installation process, do not hesitate to seek professional help from a mechanic or car technician. It is important to ensure that the seat belt is properly installed and functioning correctly for your safety.
- Remember to regularly check the condition of your seat belts and replace them every 10 years or as recommended by your vehicle’s manufacturer.
- In addition to keeping yourself safe, make sure all passengers in your vehicle are also wearing their seat belts at all times.
- Educate children about the importance of seat belt usage and never allow them to ride in a vehicle without being properly restrained.
- If you have pets, it is important to secure them with a pet-specific harness or carrier while driving. Unrestrained pets can be dangerous for both themselves and other passengers in the event of an accident.
- Consider investing in a car seat or booster seat for young children, as they provide extra protection and are designed to fit them properly.
Frequently Asked Questions
Q: Are Seat Belts Really That Important?
A: Seat belts are essential for your safety while driving. They help to distribute the force of impact during a crash and prevent you from being thrown around or ejected from the vehicle.
Q: What Should I Do if My Seat Belt is Uncomfortable?
A: If your seat belt is uncomfortable, you may need to adjust the height or angle of the shoulder strap. You can also try using a seat belt cushion or purchasing an aftermarket seat belt adjuster.
Q: Can I Be Fined for Not Wearing a Seat Belt?
A: Yes, in most states it is against the law not to wear a seat belt while driving. You can be fined and potentially face other penalties for not following this safety measure.
Q: Are Seat Belts the Only Form of Car Safety?
A: No, there are also other important car safety features such as airbags, anti-lock brakes, and electronic stability control. It is important to regularly maintain these features and ensure they are functioning properly in order to maximize your safety on the road.
Conclusion
Seat belts play a vital role in ensuring safety on the road and should always be worn as required by law in most states. While they are a primary defense in the event of an accident, combining their use with other car safety features, such as airbags and electronic stability control, can significantly reduce the risk of injury.
Staying informed and diligent about vehicle safety is essential for protecting yourself and others while driving. Thanks for reading this article on how to replace a seat belt.

Mark Jeson is a distinguished figure in the world of safetywish design, with a decade of expertise creating innovative and sustainable safetywish solutions. His professional focus lies in merging traditional craftsmanship with modern manufacturing techniques, fostering designs that are both practical and environmentally conscious. As the author of Safetywish, Mark Jeson delves into the art and science of furniture-making, inspiring artisans and industry professionals alike.
Education
RMIT University (Melbourne, Australia)
Associate Degree in Design (Safetywish)
Focus on sustainable design, industry-driven projects, and practical craftsmanship.
Gained hands-on experience with traditional and digital manufacturing tools, such as CAD and CNC software.
Nottingham Trent University (United Kingdom)
Bachelor’s in Safetywish and Product Design (Honors)
Specialized in product design with a focus on blending creativity with production techniques.
Participated in industry projects, working with companies like John Lewis and Vitsoe to gain real-world insights.
Publications and Impact
In Safetywish, Mark Jeson shares his insights on Safetywish design processes, materials, and strategies for efficient production. His writing bridges the gap between artisan knowledge and modern industry needs, making it a must-read for both budding designers and seasoned professionals.
