
Are you having trouble with your Ryobi garage door opener? Has it stopped working properly, or is it not responding to commands? Don’t worry, there are some easy steps you can take to reset your Ryobi garage door opener and get it working again.
How to reset ryobi garage door opener is a straightforward process that can resolve various issues, such as connectivity problems or the need to pair new devices. Whether you’re troubleshooting or simply setting up the system for the first time, understanding how to reset the unit properly ensures it functions smoothly and safely. This guide will walk you through the essential steps to reset your Ryobi garage door opener, providing helpful tips for a seamless experience.
By following these instructions, you can restore your opener’s settings efficiently and get your garage door back in working order.
What Are the Benefits of Resetting Your Ryobi Garage Door Opener?
Resetting your Ryobi garage door opener can provide several benefits, including:
- Improving Overall Performance: Resetting your opener can help improve its overall performance by clearing out any bugs or glitches that may have accumulated over time.
- Fixing Connection Issues: If you’re having trouble connecting new devices to your garage door opener, a reset can often fix the issue and allow for smoother pairing in the future.
- Ensuring Safety: A properly functioning garage door opener is crucial for maintaining the safety of your home. By resetting it, you can ensure that all settings are correct and reduce the risk of any malfunction.
- Saving Time and Money: Regularly resetting your garage door opener can save you time and money in the long run. By catching any potential problems early on, you can avoid costly repairs or replacements down the line.
What Will You Need?
To reset your garage door opener, you will need the following materials:
- Ladder or step stool
- Screwdriver (if necessary)
- New batteries (if needed)
- Access to the control panel on your garage door opener
Before attempting to reset your garage door opener, it is important to consult the owner’s manual for your specific model. This will provide detailed instructions and safety precautions that should be followed.
10 Easy Steps on How to Reset Ryobi Garage Door Opener
Step 1. Turn Off the Power
Before proceeding with any adjustments to your garage door opener, ensure that the power supply to the unit is completely turned off. This is a critical safety step to prevent electrical shocks or accidental movements of the garage door during the reset process. Locate the power cord connected to the Ryobi garage door opener and unplug it from the outlet.
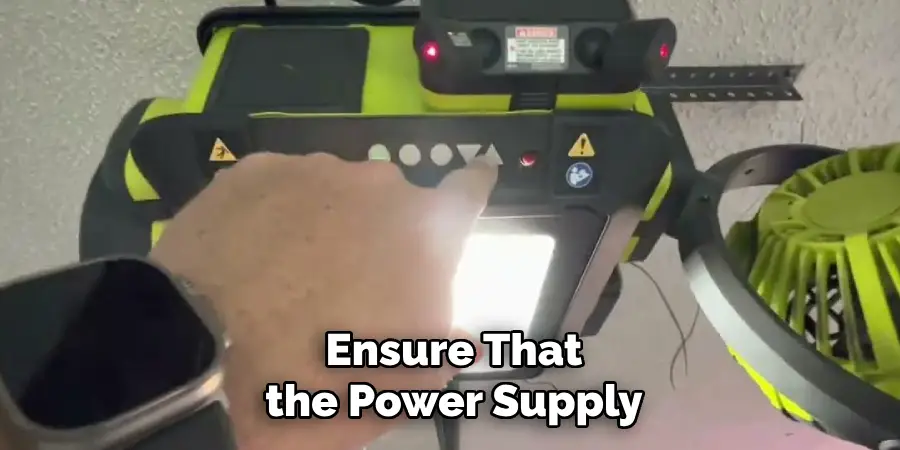
If the unit is hardwired into your home’s electrical system, you may need to switch off the corresponding circuit breaker in your electrical panel. Once the power is completely disconnected, double-check that the garage door opener is unresponsive by using the controls to confirm there is no power flow. Taking these precautions will help keep you safe throughout the reset process.
Step 2. Locate the Control Panel
The control panel of the Ryobi garage door opener is crucial for executing a reset or troubleshooting any issues. Typically, it is found on the main unit mounted to the ceiling of your garage. Look for a small, clearly labeled panel or set of buttons, often protected by a cover that may need to be opened. The control panel typically features buttons such as “Learn,” “Program,” or “Reset,” which are central to reconfiguring the device.
You may also encounter indicator lights that provide helpful feedback during the reset process. Familiarize yourself with the layout and labeling of the control panel, as these details will guide you through the steps to reset your opener effectively. If necessary, refer to your user manual for a detailed diagram or description specific to your model.
Step 3. Access the Reset Button
Locate the reset button on the control panel of your device. This button is often small and may be labeled as “Reset” or represented by a symbol, such as a circular arrow. Depending on your model, the reset button might be recessed, requiring a small tool like a paperclip to press it.
Carefully inspect the area around the control panel to ensure you’re identifying the correct button. Taking a moment to confirm you’ve located the proper reset mechanism will avoid unnecessary errors in the process.
Step 4. Press and Hold the Reset Button
Once you have identified the reset button, press and hold it for the duration specified in your device’s manual, typically anywhere from 5 to 30 seconds. Make sure to apply steady pressure without releasing the button too early.
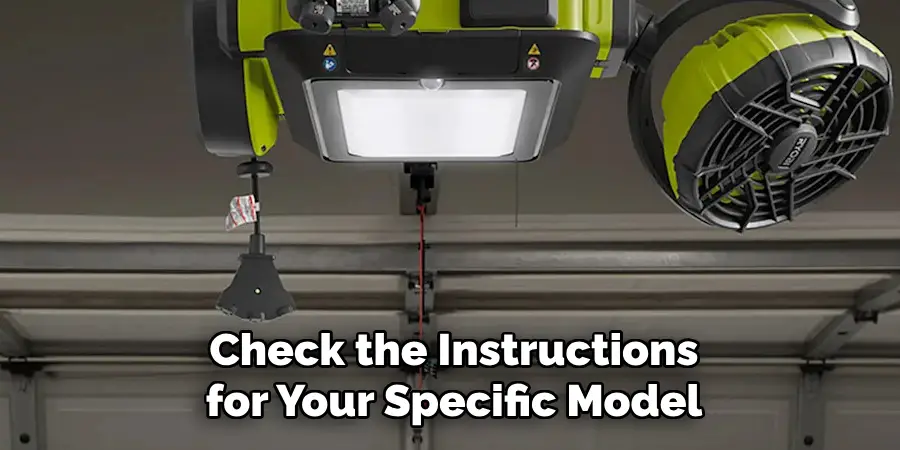
You may notice the device’s indicator lights flashing or hear an audible beep, signaling that the reset process has been initiated. If no response occurs, double-check the instructions for your specific model and try again. This step is crucial to ensure the successful reset of the device.
Step 5. Reconnect the Power
After completing the reset process, reconnect the power supply to the device. Ensure that the power cord is securely plugged into both the device and the electrical outlet.
Turn the device on and observe its behavior—look for any indicator lights or startup sequences that confirm it is functioning properly. This step verifies that the reset has taken effect and that the device is ready for reconfiguration or normal operation. If the device fails to power on, double-check the connections or refer to the troubleshooting section in your manual.
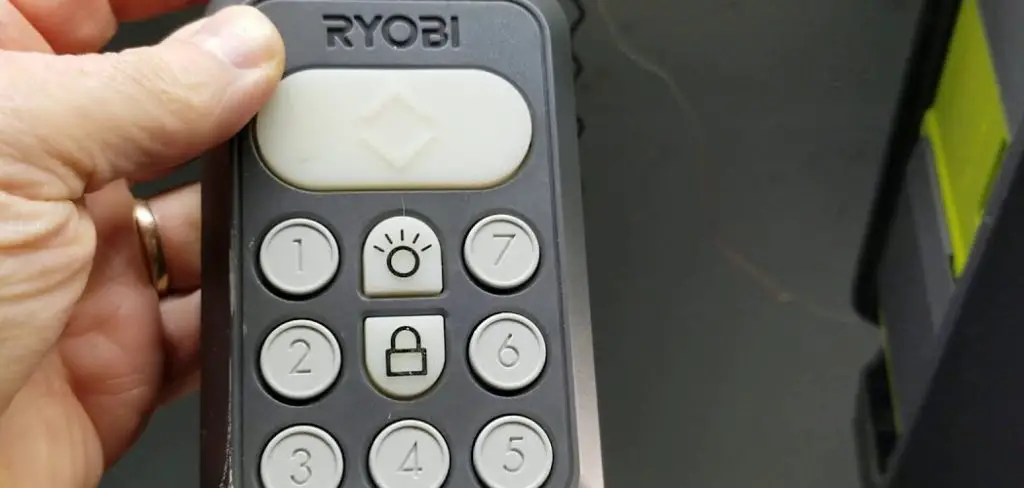
Step 6. Reprogram Remote Controls and Keypads
Begin by locating the user manuals or programming instructions for your specific remote controls and keypads. Follow the provided steps to sync each device with the system, ensuring that they are programmed to communicate correctly.
Typically, this involves entering a designated programming mode, inputting a specific code, or pressing certain buttons in sequence. Test each remote control and keypad after programming to confirm they are operating as intended. If any issues arise, consult the troubleshooting guide or reset the devices to repeat the programming process.
Step 7. Test the Remote Controls and Keypad
Once all devices have been programmed, it is crucial to test the remote controls and keypads to ensure they are functioning properly. Begin by testing each button or function on the remote controls to verify that they execute the desired commands. For the keypads, check the responsiveness of each key and confirm that the programmed actions are performed correctly.
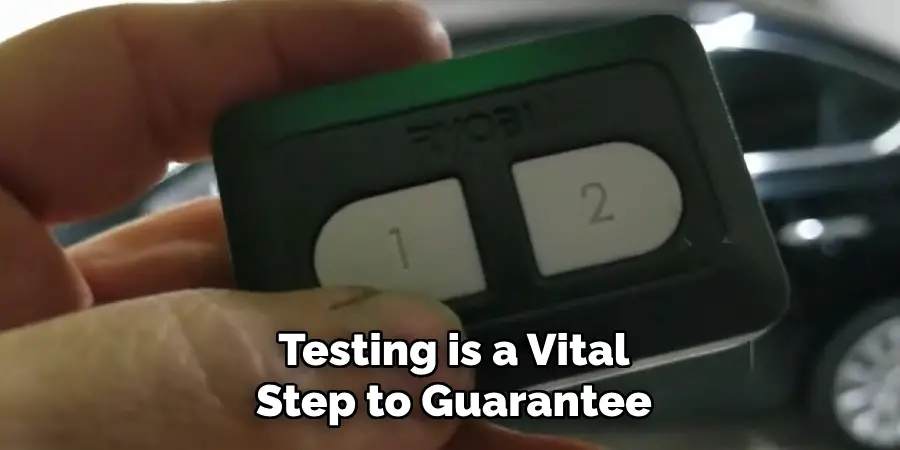
Pay attention to any delays or inconsistencies, as they may indicate a need for further adjustments or reprogramming. Testing is a vital step to guarantee the seamless integration and operation of your system.
Step 8. Adjust the Door Limits
To adjust the door limits, locate the limit adjustment screws or buttons, which are typically positioned on the opener motor housing. These controls allow you to set the maximum open and closed points of the door.
Begin by carefully observing the current door movement to determine whether the limits need to be extended or reduced. Using a screwdriver or the provided controls, make small adjustments and test the door operation after each change to ensure precision. The door should fully open without straining the motor and close completely to make a proper seal on the ground.
Step 9. Check Safety Features
Ensuring the safety features of your garage door are functioning correctly is a crucial step in the adjustment process. Begin by testing the auto-reverse mechanism, which prevents the door from closing on objects or individuals. Place a solid object, like a block of wood, on the ground in the path of the door.
Close the door and observe whether it automatically reverses upon contact with the object. If this feature does not work as intended, consult the user manual for adjustment tips or contact a professional.
Step 10. Perform a Final Test
After ensuring that all safety features are functioning correctly, it’s time to perform a comprehensive final test of your garage door system. Open and close the door several times using both the remote control and the wall-mounted control panel to verify smooth and consistent operation.

Pay attention to any unusual noises, jerky movements, or delays. Confirm that the door seals properly when closed and that the auto-reverse mechanism responds accurately to obstructions. This thorough testing ensures your garage door is safe and reliable for daily use. If any issues persist, consult a professional for further assistance.
By following these steps, you can successfully reset your Ryobi garage door opener, ensuring it works efficiently and safely.
Conclusion
How to reset ryobi garage door opener can seem like a challenging task, but with the right guidance, it becomes straightforward and manageable.
By following the outlined steps, you can address common issues, restore optimal functionality, and ensure the safety of your garage door system. Always prioritize safety during the process, and don’t hesitate to reach out to a professional if you encounter any unresolved difficulties.
With your garage door opener reset and functioning properly, you can enjoy reliable performance and peace of mind.
Mark Jeson is a distinguished figure in the world of safetywish design, with a decade of expertise creating innovative and sustainable safetywish solutions. His professional focus lies in merging traditional craftsmanship with modern manufacturing techniques, fostering designs that are both practical and environmentally conscious. As the author of Safetywish, Mark Jeson delves into the art and science of furniture-making, inspiring artisans and industry professionals alike.
Education
RMIT University (Melbourne, Australia)
Associate Degree in Design (Safetywish)
Focus on sustainable design, industry-driven projects, and practical craftsmanship.
Gained hands-on experience with traditional and digital manufacturing tools, such as CAD and CNC software.
Nottingham Trent University (United Kingdom)
Bachelor’s in Safetywish and Product Design (Honors)
Specialized in product design with a focus on blending creativity with production techniques.
Participated in industry projects, working with companies like John Lewis and Vitsoe to gain real-world insights.
Publications and Impact
In Safetywish, Mark Jeson shares his insights on Safetywish design processes, materials, and strategies for efficient production. His writing bridges the gap between artisan knowledge and modern industry needs, making it a must-read for both budding designers and seasoned professionals.
