
Are you having trouble getting your Liftmaster gate opener to work properly? Don’t worry, adjusting it is a simple process that can be done in just a few steps.
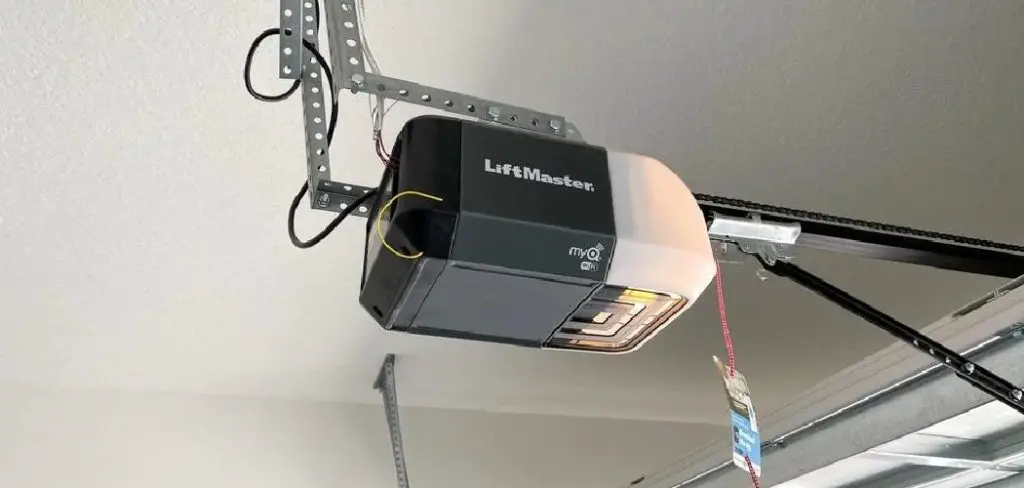
Adjusting a LiftMaster gate opener is an essential skill for maintaining the efficiency and functionality of your automated gate system. Whether you need to fine-tune the opening and closing speeds, adjust the limit settings, or troubleshoot common issues, understanding the adjustment process can help extend the lifespan of your gate opener while ensuring smooth and safe operation.
Additionally, regularly checking and adjusting your LiftMaster gate opener can prevent costly repairs or replacements down the line.
This guide on how to adjust liftmaster gate opener will provide step-by-step instructions to help you make the necessary adjustments with ease and confidence.
What Are the Benefits of Adjusting Your LiftMaster Gate Opener?
Adjusting your LiftMaster gate opener can provide several benefits, including:
- Improved Safety: Properly adjusted gate openers can prevent accidents or injuries caused by malfunctioning gates.
- Smooth Operation: By adjusting the limit settings and other components, you can ensure smooth and consistent operation of your gate opener.
- Longer Lifespan: Regular adjustments can prolong the lifespan of your gate opener by reducing wear and tear on key components.
- Cost Savings: By preventing major issues or breakdowns, adjusting your gate opener can save you money on repairs or replacements.
What Will You Need?
To properly adjust your gate opener, you will need the following tools:
- A screwdriver
- An adjustable wrench
- Lubricant (such as WD-40)
- Safety gloves and eyewear
In addition to these tools, it may also be helpful to have the user manual for your specific gate opener model. This can provide more detailed instructions and diagrams for adjusting the components.
10 Easy Steps on How to Adjust Liftmaster Gate Opener
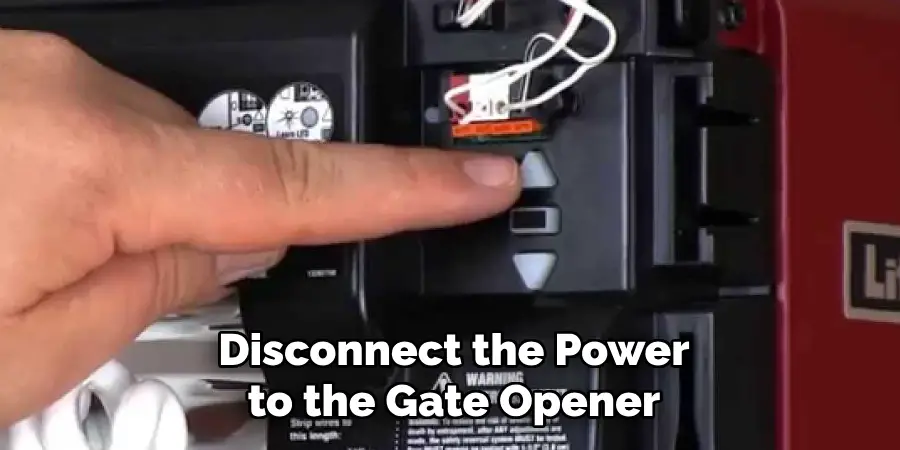
Step 1: Ensure Safety First
Before starting any adjustments, it is crucial to prioritize your safety. Disconnect the power to the gate opener to prevent accidental activation while you are working. This step reduces the risk of electric shock or unexpected gate movement.
Make sure the area around the gate is clear of any obstructions, pets, or people to avoid potential hazards. Put on safety gloves and eyewear to protect your hands and eyes from sharp edges, tools, or debris. Taking these precautions ensures a safe and smooth adjustment process and helps you avoid unnecessary injuries. Safety should always come first when working with mechanical or electrical equipment.
Step 2: Locate the Adjustment Screws
To adjust the gate mechanism correctly, begin by identifying the adjustment screws on the gate or opener. These screws are typically located near the hinge or along the gate track, depending on whether you are working with a sliding gate, swing gate, or other types. Refer to the manufacturer’s manual to pinpoint the exact location and determine the purpose of each screw, as some may control tension, alignment, or speed.
Before making any changes, inspect the screws and surrounding parts for signs of wear, rust, or damage, as these can affect the adjustments. If necessary, use a cloth to clean the area, ensuring visibility and access to the screws. Properly locating and preparing the adjustment screws is a crucial step in achieving precise and effective results during the adjustment process.
Step 3: Adjust the Open Limit
To adjust the open limit, locate the adjustment screw or knob labeled for the open position, often marked with “Up” or “Open.” Turn the screw or knob slowly in small increments while monitoring the position of the mechanism to ensure it opens to the desired height.
Use a measuring tool, if necessary, to verify the accuracy of the open limit. Avoid over-adjusting, as this may cause the mechanism to strain or fail to operate properly. Once the desired open limit is achieved, test the system multiple times to confirm consistent operation. Tighten any securing screws or locks to keep the adjustment in place.
Step 4: Adjust the Close Limit
To adjust the close limit, begin by identifying the close limit adjustment mechanism, which is typically located near the main control unit or along the mechanism’s track. Turn the adjustment screw or knob slowly in small increments while observing the mechanism’s movement.
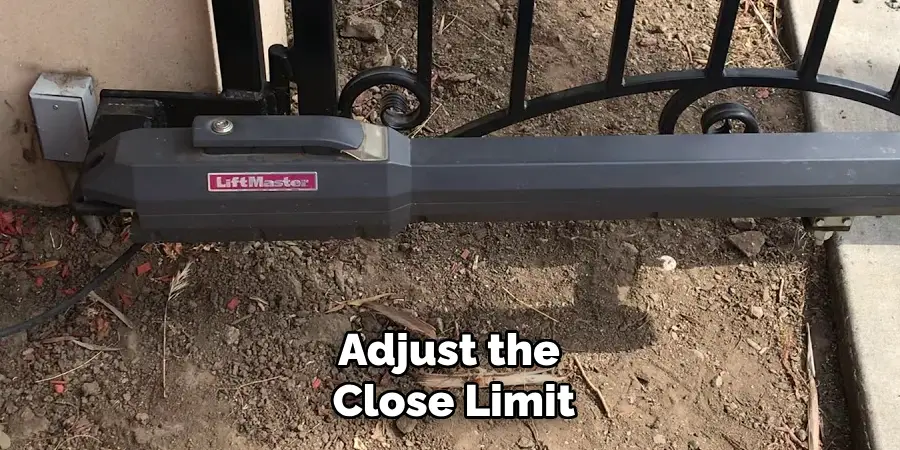
Ensure the mechanism closes fully but does not apply excessive force at the end of its travel. Use a measuring tool, if necessary, to confirm the accuracy of the close limit. Avoid over-adjusting, as this may cause the mechanism to misalign or damage its components.
Step 5: Check the Force Settings
Inspect the force settings to ensure the mechanism operates with the appropriate amount of power. The force settings determine how much strength the system uses to open and close, and improper adjustment can lead to safety hazards or equipment wear. Begin by consulting the manufacturer’s guidelines for recommended force levels.
Adjust the force settings gradually, if necessary, monitoring how the mechanism reacts during operation. The system should operate smoothly without excessive resistance or abrupt movements. Perform multiple tests to confirm consistency and ensure the force applied is neither too weak to complete the motion effectively nor too strong, which could damage components or compromise safety.
Step 6: Lubricate Moving Parts
Proper lubrication is essential to ensure the smooth operation and longevity of moving parts within the system. Begin by identifying all points of motion that require lubrication, such as hinges, gears, or sliding mechanisms. Use a lubricant recommended by the manufacturer to prevent wear and reduce friction.
Apply the lubricant sparingly but evenly, taking care not to over-apply, as excess lubrication can attract dust and debris, leading to potential clogging. Once applied, move the parts manually to distribute the lubricant thoroughly and check for any resistance.
Step 7: Inspect the Safety Sensors
Begin by visually examining the safety sensors for any visible dirt, dust, or obstructions that might interfere with their functionality. Wipe the sensors gently with a clean, dry cloth to remove any debris. Check the alignment of the sensors to ensure they are properly positioned and facing each other.
Misalignment can lead to operational issues, so make adjustments as needed to restore proper functioning. Test the sensors by triggering them to confirm they respond accurately. If the sensors do not work correctly, consult the device manual or contact a professional for further inspection. Regularly inspecting the safety sensors ensures the equipment operates safely and effectively.
Step 8: Reconnect the Power
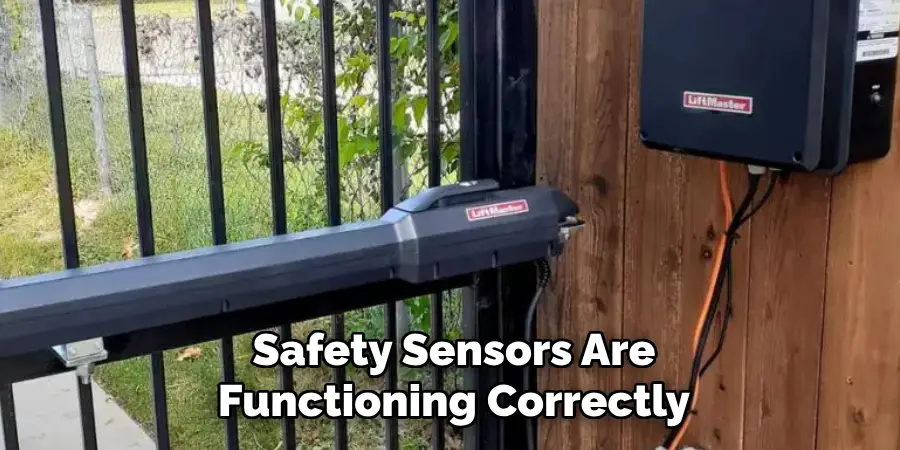
Once you have verified that the safety sensors are functioning correctly, it is time to reconnect the power to the device. Locate the main power supply or circuit breaker and restore power carefully. Ensure that all connections are secure and there are no exposed wires. After reconnecting the power, test the entire system to confirm it operates smoothly and without any issues.
Step 9: Test the Gate Opener
With the power restored, it’s time to test the gate opener to ensure it is functioning as expected. Begin by using the remote control or manual switch to open and close the gate several times. Observe its movements, ensuring that it operates smoothly without any unusual sounds or jerky motions.
Check the sensors to confirm they are detecting obstacles and stopping the gate when necessary. Additionally, verify that the gate locks securely when closed and engages properly when opened. Repeat the testing process if any issues arise and make necessary adjustments.
Step 10: Perform Regular Maintenance
Regular maintenance is crucial to the long-term performance of your gate opener. Inspect all components, including the motor, sensors, and mechanical parts, for wear and tear. Clean the gate tracks, hinges, and rollers to prevent debris buildup, which could hinder smooth operation.
Lubricate moving parts as recommended by the manufacturer to reduce friction and avoid unnecessary strain on the system. Test the safety features, such as obstacle detection and the auto-reverse function, to ensure they are functioning correctly. Schedule professional servicing as needed to address any complex issues.
By following these steps, your Liftmaster gate opener should function efficiently and reliably.
5 Things You Should Avoid
- Over-Tightening the Adjustment Screws
Applying excessive force to the adjustment screws can damage the internal components of your Liftmaster gate opener. Always follow the manufacturer’s instructions for the correct level of adjustment.

- Ignoring Safety Precautions
Never attempt to adjust the gate opener without disconnecting the power supply. Electrical hazards can occur, putting you at risk of serious injury.
- Skipping the Owner’s Manual
Avoid making adjustments based solely on guesswork. The owner’s manual provides specific guidelines tailored to your gate opener model and should always be consulted.
- Using Incorrect Tools
Utilizing improper tools can strip screws or damage key components. Ensure you are using the recommended tools to prevent unnecessary harm to the mechanism.
- Forcing the Gate to Move Manually
Forcing the gate open or closed while the gate opener is active can strain the system and lead to long-term damage. Always operate the gate as intended to ensure proper functioning.
Conclusion
How to adjust liftmaster gate opener requires careful attention to detail and adherence to the manufacturer’s guidelines.
Begin by reviewing the instruction manual thoroughly to understand the specific model and its mechanisms. Identify and address any potential issues, such as misalignment or tension imbalances, by making gradual and precise adjustments.
Always prioritize safety by disconnecting the power supply before making any modifications. Regular maintenance and the use of correct tools will help preserve the gate opener’s functionality while avoiding unnecessary damage.
By following these steps and consulting professionals when needed, you can ensure your LiftMaster gate opener operates smoothly and reliably.
Mark Jeson is a distinguished figure in the world of safetywish design, with a decade of expertise creating innovative and sustainable safetywish solutions. His professional focus lies in merging traditional craftsmanship with modern manufacturing techniques, fostering designs that are both practical and environmentally conscious. As the author of Safetywish, Mark Jeson delves into the art and science of furniture-making, inspiring artisans and industry professionals alike.
Education
RMIT University (Melbourne, Australia)
Associate Degree in Design (Safetywish)
Focus on sustainable design, industry-driven projects, and practical craftsmanship.
Gained hands-on experience with traditional and digital manufacturing tools, such as CAD and CNC software.
Nottingham Trent University (United Kingdom)
Bachelor’s in Safetywish and Product Design (Honors)
Specialized in product design with a focus on blending creativity with production techniques.
Participated in industry projects, working with companies like John Lewis and Vitsoe to gain real-world insights.
Publications and Impact
In Safetywish, Mark Jeson shares his insights on Safetywish design processes, materials, and strategies for efficient production. His writing bridges the gap between artisan knowledge and modern industry needs, making it a must-read for both budding designers and seasoned professionals.
