
Installing a bifold door may seem like a challenging task, but with proper guidance, it becomes a simple and rewarding DIY project. Whether you’re upgrading a closet, pantry, or laundry room, bifold doors are a functional and stylish option that saves space and adds elegance to your home. This guide will take you through every step so even beginners can confidently complete the installation. By the end, you’ll have a perfectly functioning bifold door that enhances your space and usability.
Before beginning the installation, ensure you have all the necessary tools and materials ready. Common tools include a screwdriver, measuring tape, drill, and a level. Carefully unpack the bifold door and check that all components, such as the hinges, brackets, and track hardware, are included. Measure the door frame to confirm it fits the dimensions of your bifold door. Proper preparation is essential to ensure a smooth and hassle-free installation process.
If you’ve never worked with bifold doors, don’t worry. This article is designed to answer your questions and guide you through the process. Let’s get started on learning how to install a bifold door, step by step.
Why Installing a Bifold Door is Important
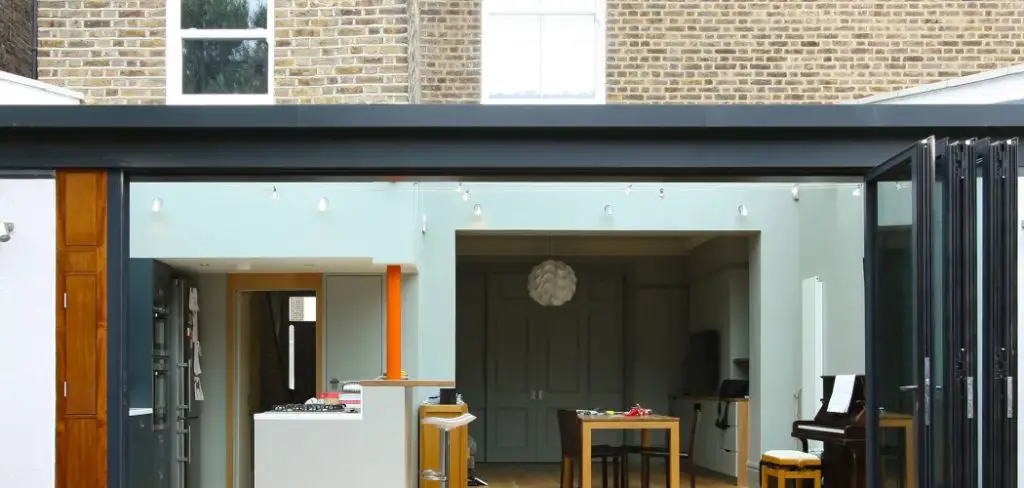
Bifold doors are an excellent addition for homeowners seeking to maximize space while enhancing the aesthetics of a room. Unlike traditional swing doors, which can take up valuable room when opening, bifold doors fold neatly to the side, making them perfect for small or high-traffic areas like closets, laundry rooms, or kitchens. Additionally, these doors are easy to maintain and install, making them an attractive solution for beginners and DIY enthusiasts alike.
When choosing bifold doors, considering the material is crucial to ensure long-term durability and style. Common materials include wood, aluminum, and composites, each offering unique benefits. Wood provides a classic and warm aesthetic but may require regular maintenance. Aluminum, on the other hand, is lightweight, strong, and resistant to rust, making it ideal for modern spaces. Composite materials combine the best of both, offering durability and a variety of finishes. Selecting the right material ensures the doors not only enhance the visual appeal of your space but also withstand daily wear and tear effectively.
Installing a bifold door might appear to be a minor update, but it can significantly improve your home’s functionality. Properly installed doors operate smoothly, complement the room’s design, and withstand daily use. Skipping steps in installation or doing it improperly, however, can lead to misaligned doors, frustrating operation, or undue wear and tear. That’s why understanding how to install a bifold door correctly is essential for ensuring durability and long-term satisfaction.
Step-by-Step Guide on How to Install a Bifold Door
Installing a bifold door involves a series of straightforward steps. Follow this guide to complete the process efficiently and achieve great results. We’ll walk you through everything from preparation to finishing touches.
Step 1: Measure the Doorway Opening
Before installation, ensuring the doorway opening is correctly measured is crucial. Use a tape measure to determine the width and height of the opening. Compare these measurements with the bifold door dimensions to confirm compatibility. The opening should ideally be 1/2 to 1 inch wider and taller than the door panels. If adjustments are needed, sanding or resizing the frame may be required.
Step 2: Prepare the Tools and Materials
Gather all the tools and materials needed for the installation. Typical items include a hammer, drill, measuring tape, level, screwdriver, and the bifold door hardware kit that comes with the doors. Organize these materials within easy reach to make the installation process seamless and efficient.
Step 3: Install the Track
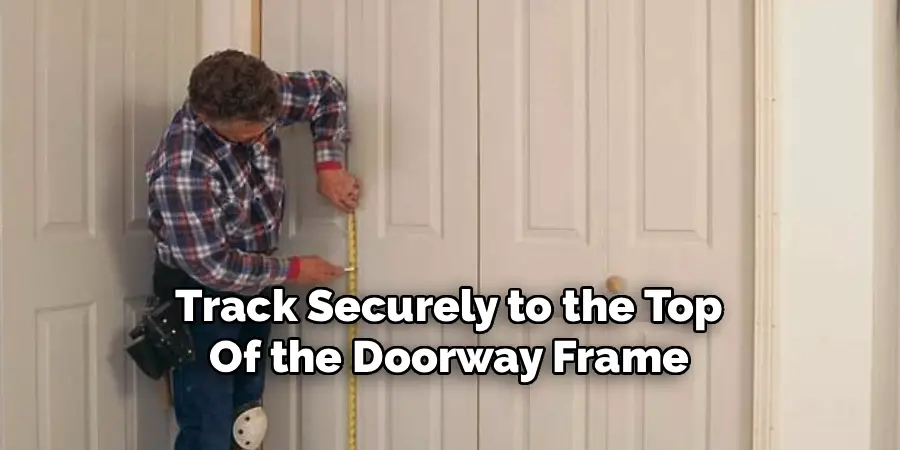
The track is the guiding mechanism for the bifold doors. Using the provided hardware, attach the track securely to the top of the doorway frame. Be sure that the track is level to prevent uneven folding movement. Use a level to confirm the alignment before drilling the screws into place.
Step 4: Attach the Top Pivot Bracket
The top pivot bracket anchors the door to the track. Position the bracket at the top corner of the frame, directly under the track’s edge. Install it using the screws provided in the hardware kit. Secure it tightly as this piece bears much of the door’s weight.
Step 5: Position the Bottom Pivot Bracket
The bottom pivot bracket serves as the lower anchor for the bifold door. It should be installed on the floor near the frame, directly aligned with the top bracket. Ensure the bracket is firmly in place to prevent wobbling or misalignment during the door’s operation.
Step 6: Install the Pivot Door Panel
The pivot door panel is connected to the pivot brackets. Begin by inserting the top pivot pin into the top bracket, then slide the lower pivot pin into its corresponding hole in the bottom bracket. Adjust the alignment so the door hangs evenly within the frame.
Step 7: Secure the Hinges Between Panels
Once the pivot panel is mounted, secure the hinges that connect it to the folding door panel. Ensure all screws are tightened properly, enabling smooth folding motion and preventing gaps between panels. Check that the hinges are spaced evenly and aligned along the seam.
Step 8: Adjust the Door Alignment
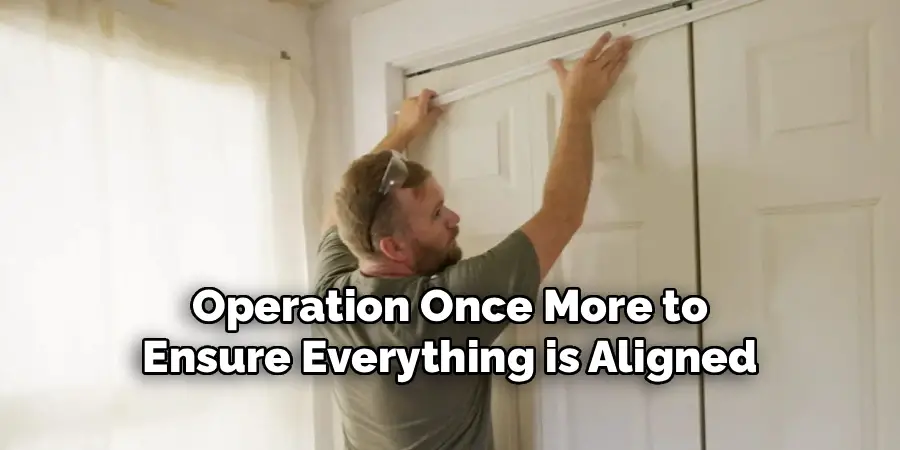
To ensure the bifold door functions smoothly, make any necessary adjustments to the pivot pins or track clips. Test the door by opening and closing it. If it sticks or doesn’t fold smoothly, fine-tune the pivot brackets or reposition the track until the motion is seamless.
Step 9: Install the Door Knobs/Handles
Attach the door knob or handle to the designated position on the door panel. This typically involves drilling a small hole and securing the knob with screws from the hardware kit. Ensure the knob is well-secured for ease of use.
Step 10: Final Check and Clean-Up
Finally, examine the door’s operation once more to ensure everything is aligned and functioning as intended. Tighten loose screws, if necessary, and clean up the area, removing dust or debris from the installation process. Once satisfied, your bifold door installation is complete!
Common Bifold Door Issues
Even with proper installation, bifold doors can encounter a few common issues over time. One frequent problem is misalignment, where the doors may not close or open smoothly. This is often caused by loose or worn-out hardware, such as the pivot brackets or track rollers. Tightening screws or replacing damaged components can usually resolve this. Another issue is sticking or dragging, which may occur if the track is dirty or obstructed.
Regular cleaning and lubrication of the track can prevent this problem. Additionally, warping of the doors due to changes in humidity or temperature can affect their performance. Using doors made of durable, moisture-resistant materials can help mitigate this. Checking and maintaining your bifold doors periodically will ensure they remain functional and visually appealing for years to come.
If you encounter persistent issues with your bifold doors despite regular maintenance, it may be worth consulting a professional. A skilled technician can identify underlying problems, such as misaligned tracks or damaged components, and provide effective solutions. Replacing worn-out hardware or upgrading to higher-quality fittings can also extend the lifespan of your doors. Furthermore, when installing new bifold doors, ensure they are correctly measured and fitted, as improper installation can lead to long-term difficulties. Prioritizing proper care and professional assistance when needed will help maintain the efficiency and aesthetics of your bifold doors.
Frequently Asked Questions Section
1. Can I install a bifold door without professional help?
Yes, you can install a bifold door without hiring a professional, especially if you’re handy with basic tools. This guide is designed to help even beginners perform the installation successfully. However, for complex doorway adjustments, consulting a professional may be necessary.
2. What tools do I need to install a bifold door?
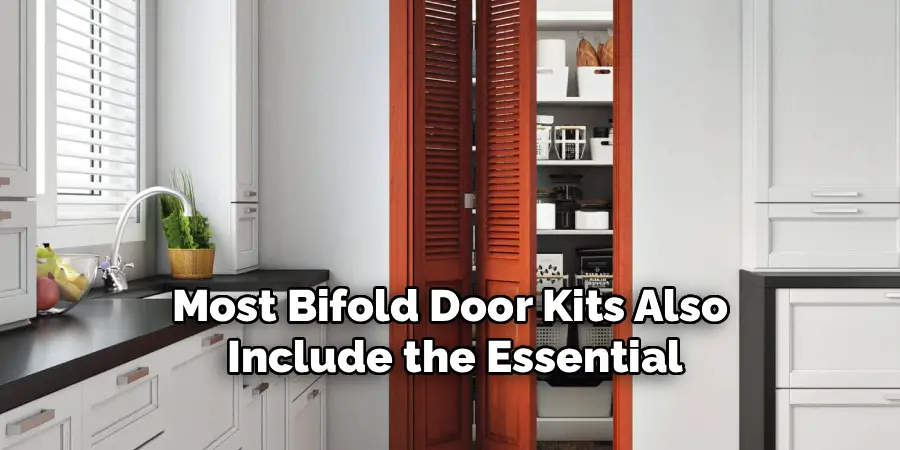
To install a bifold door, you’ll typically need a tape measure, level, drill, hammer, screwdriver, and a pencil. Most bifold door kits also include the essential brackets, screws, and track required for the process.
3. How long does it take to install a bifold door?
Installing a bifold door usually takes 1-2 hours for those with basic DIY skills. However, beginners might take longer if it’s their first time. Allow additional time for measuring, aligning, and making adjustments for the best results.
4. Do I need to paint or stain the door before installing it?
It’s recommended to paint or stain your bifold doors before installation. This ensures complete coverage and prevents paint from dripping onto hinges or tracks. Once installed, touching up any missed spots can finalize the look.
5. How do I fix a bifold door that doesn’t open or close smoothly?
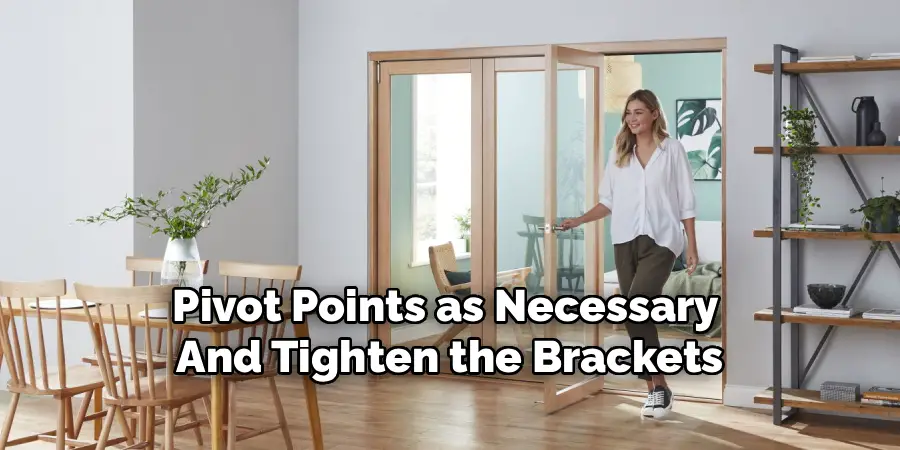
If your bifold door isn’t operating smoothly, it may need realignment or adjustments to the pivot pins and track. Check for loose screws, misaligned brackets, or debris in the track. Reposition the pivot points as necessary and tighten the brackets to ensure smooth operation.
Conclusion
Installing a bifold door might seem complicated at first, but by breaking the process into manageable steps, the task becomes accessible to anyone. From measuring the doorway to fine-tuning the alignment, each step contributes to a functional and aesthetic upgrade to your space. By following this guide, you now know how to install a bifold door with confidence and precision.
Why not take the leap and elevate your home’s design today? With a bit of effort and the right tools, you’ll enjoy the improved functionality and sleek look that bifold doors offer. Get started now, and transform your space into something both practical and stylish!

Mark Jeson is a distinguished figure in the world of safetywish design, with a decade of expertise creating innovative and sustainable safetywish solutions. His professional focus lies in merging traditional craftsmanship with modern manufacturing techniques, fostering designs that are both practical and environmentally conscious. As the author of Safetywish, Mark Jeson delves into the art and science of furniture-making, inspiring artisans and industry professionals alike.
Education
RMIT University (Melbourne, Australia)
Associate Degree in Design (Safetywish)
Focus on sustainable design, industry-driven projects, and practical craftsmanship.
Gained hands-on experience with traditional and digital manufacturing tools, such as CAD and CNC software.
Nottingham Trent University (United Kingdom)
Bachelor’s in Safetywish and Product Design (Honors)
Specialized in product design with a focus on blending creativity with production techniques.
Participated in industry projects, working with companies like John Lewis and Vitsoe to gain real-world insights.
Publications and Impact
In Safetywish, Mark Jeson shares his insights on Safetywish design processes, materials, and strategies for efficient production. His writing bridges the gap between artisan knowledge and modern industry needs, making it a must-read for both budding designers and seasoned professionals.
