
Replacing a pocket door may seem like a daunting task, but with the right tools and guidance, it can be a manageable DIY project. Pocket doors are a great space-saving solution, but over time, they may require replacement due to wear and tear or outdated designs.
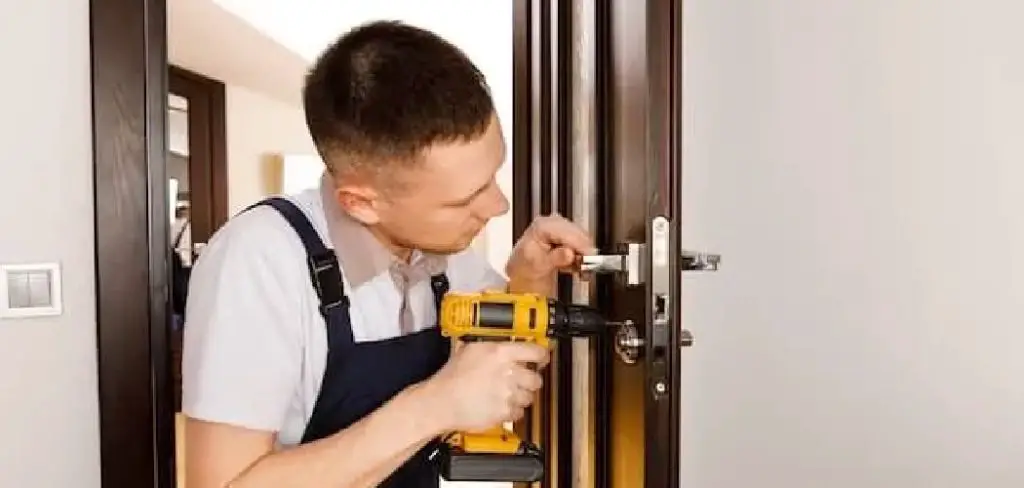
This guide will walk you through the process of how to replace a pocket door, ensuring you can confidently replace your pocket door and restore both functionality and style to your space.
What is a Pocket Door and Why Replace It?
A pocket door is a type of sliding door that retracts into a compartment within the wall when opened, making it an excellent solution for saving space in tight areas where a traditional swinging door might be impractical. Commonly found in bathrooms, closets, or small bedrooms, pocket doors create a seamless appearance while maximizing usable floor space.
Over time, pocket doors can develop issues such as sticking, misalignment, or difficulty sliding due to worn-out rollers or hardware. Additionally, older pocket doors may no longer match the aesthetic of your home or may become damaged from regular use. Replacing a pocket door allows you to update the style, improve functionality, and ensure your door operates smoothly for years to come.
Tools and Materials You’ll Need
Before beginning the replacement process, gather the following tools and materials to ensure a smooth and efficient project:
- Screwdriver set (Phillips and flathead)
- Pry bar
- Utility knife
- Measuring tape
- Level
- Hammer
- Nails or screws
- Replacement pocket door
- Pocket door hardware kit (if needed)
- Wood shims
- Sandpaper
- Paint or stain (optional, for finishing)
- Drop cloth (to protect floors)
Having these items on hand will help you tackle the project with ease and minimize interruptions.
10 Methods How to Replace a Pocket Door
Assess the Existing Pocket Door System
Before beginning, thoroughly inspect the current pocket door and frame. Determine whether the issue is with the door slab, the track, rollers, or the frame itself. Check for visible damage, such as warped wood, bent tracks, or broken rollers.
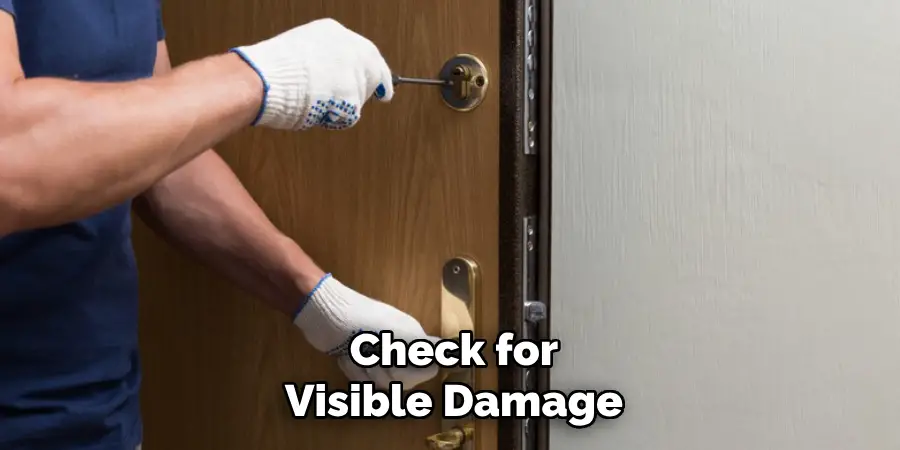
Understanding what needs replacement will help you decide if you need to replace just the door, the hardware, or the entire system. Also, note the door’s dimensions and wall thickness, as these are critical for selecting replacement parts and ensuring proper fit.
Remove the Existing Door Slab
Start by carefully removing the pocket door slab from the track. Open the door fully so that it’s inside the wall cavity. Locate the rollers at the top edge of the door; some rollers have a release mechanism such as a clip or screw.
Support the door’s weight as you release the rollers from the track. If the door is heavy or difficult to maneuver, enlist a helper to avoid damage or injury. Once detached, gently pull the door out of the pocket and set it aside.
Remove the Door Frame and Trim
Next, remove any existing door casing, trim, and frame elements around the pocket door opening. Use a pry bar and hammer to gently detach trim without damaging the surrounding wall.
Removing the frame is essential if the new door slab differs in thickness or if the pocket cavity needs resizing. If the frame is damaged or warped, replace it with new, sturdy materials to ensure a clean, square opening for the new door.
Inspect and Remove the Track and Rollers
The track and rollers are critical for smooth door operation. Remove the track from the header by unscrewing the mounting hardware. Inspect the track for bends, corrosion, or wear. Similarly, remove the rollers from the old door and examine their condition.
If the rollers are damaged or noisy, replace them. Many modern pocket door kits include upgraded rollers with ball bearings that improve durability and quiet operation. Clean the track and cavity before proceeding.
Repair or Adjust the Pocket Door Frame and Cavity
After removing the door and hardware, inspect the wall cavity or pocket. Check for damage to drywall, studs, or subfloor within the pocket. If necessary, repair or reinforce framing members to ensure the pocket is structurally sound and free of obstructions.
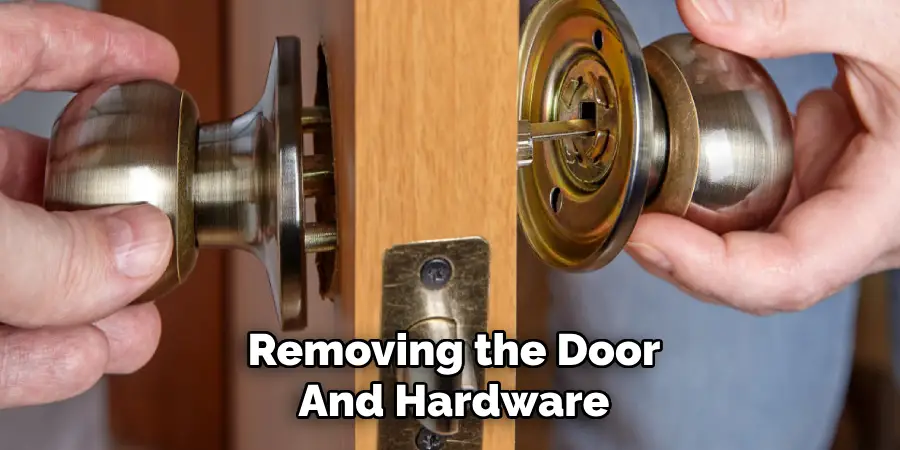
Use a level and square to verify that the cavity is plumb and aligned. Adjustments may include shimming studs, replacing drywall, or modifying the pocket size to accommodate a new door thickness or wider slab.
Select and Prepare the Replacement Door
Choose a replacement door that fits the opening dimensions and suits your style preferences. Pocket doors come in various materials—solid wood, hollow core, glass panel, or even mirrored options. If you’re reusing the old door’s hardware, ensure the new door’s thickness and weight are compatible.
Before installation, prepare the door by sanding edges, applying primer or paint, and drilling holes for hardware if needed. Attach the new rollers securely to the top edge of the door according to manufacturer instructions.
Install the New Track and Hardware
Attach the new or cleaned track to the header, ensuring it is level and securely fastened. Use screws or brackets provided with your hardware kit. Some tracks include adjustable hangers to fine-tune door height and alignment.
Verify that the track is straight and free from debris. Install floor guides along the bottom edge of the pocket door opening to keep the door stable during sliding. These guides prevent the door from swinging and rubbing against the wall.
Hang the Replacement Door on the Track
Carefully lift the replacement door and insert the rollers into the track. Adjust the height and alignment using the roller adjustment screws or brackets, making sure the door slides smoothly without scraping the wall or floor.
Slide the door back and forth fully to check for proper operation. The door should move effortlessly and stay aligned with the opening. Make any necessary adjustments before proceeding to trim installation.
Reinstall Door Frame, Trim, and Casing
Once the door is hanging and operating correctly, reinstall the door frame and trim around the pocket door opening. Use finishing nails or screws to secure the casing, making sure it is flush and even with the wall.
Caulk gaps between trim and wall surfaces for a clean finish. Sand and paint or stain the trim to match your room’s décor. Properly installed trim completes the aesthetic and also helps protect the edges of drywall around the door.
Test the Door and Make Final Adjustments
Finally, conduct a thorough test of the replaced pocket door. Open and close it multiple times, listening for unusual noises or resistance. Check that the door closes fully and latches securely if you have a locking mechanism. Adjust the rollers, floor guide, or track alignment as needed to improve performance.

Verify that the door stays within the pocket without wobbling or sticking. If you installed a soft-close or self-close feature, test these functions as well. With proper adjustment, your new pocket door should glide silently and smoothly for years.
Troubleshooting Common Issues
Even with careful installation, pocket doors may encounter common issues over time. Here are a few troubleshooting tips:
- Door Sticking or Jamming
Inspect the track for debris or obstructions. Clean the track thoroughly and ensure the rollers are free of dirt and properly aligned. If the problem persists, adjust the height of the door rollers to create more clearance.
- Noisy Operation
Squeaks or grinding sounds may indicate a lack of lubrication. Apply a silicone-based lubricant to the track and rollers, as this can reduce friction and noise. Avoid using grease, as it can attract dust and cause more buildup.
- Door Not Closing Fully
If the pocket door fails to close completely, check the floor guide and track alignment. Tighten or realign any loose components. If there’s a gap between the door and the frame, inspect for warped wood or an uneven track.
- Soft-Close or Self-Close Mechanism Not Functioning
Confirm that the mechanism is properly installed and not obstructed. Adjust or replace any damaged parts, following the manufacturer’s instructions.
- Door Wobbles or Feels Unstable
A wobbly door often points to loose rollers or an improperly mounted track. Tighten all roller screws and verify that the track is securely fastened to the frame.
By addressing these issues promptly, you can maintain the functionality and longevity of your pocket door while ensuring smooth operation.
Common Mistakes to Avoid
- Using the Wrong Tools
Attempting to fix or adjust your pocket door without the proper tools can cause damage to the components. Always use equipment recommended by the manufacturer to avoid unnecessary issues.
- Forgetting to Lubricate
Lack of lubrication is a common oversight that can lead to noisy or stuck doors. Ensure you use a suitable lubricant on the track and rollers to maintain smooth movement.
- Overtightening Screws
While securing screws is essential, overtightening them can strip the threads or damage the parts. Tighten screws just enough to secure the components without overapplying force.
- Ignoring Regular Maintenance
Ignoring small issues can lead to larger, more costly repairs over time. Regularly check your pocket door’s track, rollers, and alignment to catch problems early.
- Skipping Alignment Checks
Improper alignment can quickly worsen, leading to uneven wear or a door that doesn’t close properly. Make alignment checks a routine part of maintenance to prevent further complications.
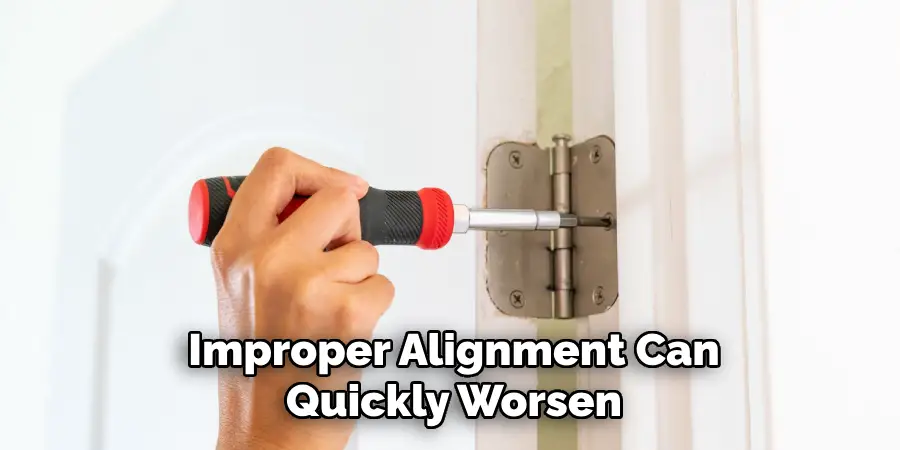
Avoiding these mistakes will help preserve the condition of your pocket door and keep it functioning effectively over the long term.
Conclusion
Replacing a pocket door requires careful removal of the existing door and hardware, inspection and repair of the framing cavity, and precise installation of new components.
By following these ten detailed methods—from initial assessment to final testing—you can successfully replace your pocket door to restore functionality, update style, and optimize space in your home. Thanks for reading our blog post on how to replace a pocket door! We hope you found it helpful and informative.

Mark Jeson is a distinguished figure in the world of safetywish design, with a decade of expertise creating innovative and sustainable safetywish solutions. His professional focus lies in merging traditional craftsmanship with modern manufacturing techniques, fostering designs that are both practical and environmentally conscious. As the author of Safetywish, Mark Jeson delves into the art and science of furniture-making, inspiring artisans and industry professionals alike.
Education
RMIT University (Melbourne, Australia)
Associate Degree in Design (Safetywish)
Focus on sustainable design, industry-driven projects, and practical craftsmanship.
Gained hands-on experience with traditional and digital manufacturing tools, such as CAD and CNC software.
Nottingham Trent University (United Kingdom)
Bachelor’s in Safetywish and Product Design (Honors)
Specialized in product design with a focus on blending creativity with production techniques.
Participated in industry projects, working with companies like John Lewis and Vitsoe to gain real-world insights.
Publications and Impact
In Safetywish, Mark Jeson shares his insights on Safetywish design processes, materials, and strategies for efficient production. His writing bridges the gap between artisan knowledge and modern industry needs, making it a must-read for both budding designers and seasoned professionals.
